So for a while I’ve been trying to roll out an Android Development Environment on my desktop (both at work and at home) so I can start learning to develop applications for Android. It’s a lofty goal – my programming skills are usually limited to scripting languages like Python and PHP (with some HTML and ASP sprinkled in when I’m bored). I took Computer Science courses at Rutgers University, so I have a little background in Java which is also helpful. However, the biggest barrier to me starting Android development has always been getting the IDE setup. The guides in books (and on the web) have always been out of date by the time I’ve read them. This might be because Android changes so quickly through it’s iterations. Who knows. All I do know is that there is usually no branding on the page to indicate when it was written or the last time it was valid. This page will be different.
Written: 10/18/2013 – Verified Working: 1/29/2014
Steps To Install:
- Navigate to Java SE Downloads.
- Click Download below the Java JDK heading.
- Accept the license agreement by clicking the Radio Button at the top of the section for the latest kit (for me as of writing Java SE Development Kit 7u45)
- Download the installer for your flavor of Windows (or whatever OS you are using). I downloaded both the x86 and x64 because I wanted to make sure I was covered.
- Run the first of the two installers (if you did as I did and downloaded both) which is jdk-7u45-windows-i586.
- Click through the installation until it is complete.
- Run the second of the two installers which is jdk-7u45-windows-x64.
- Click through the installation until it is complete.
- Navigate to Android SDK.
- Click the “Download for Other Platforms” heading to reveal ADT Bundle and SDK Tools Only.
- Select the installer for your flavor of Windows (or whatever OS you are using). I downloaded installer_r22.2.1-windows. (As of 12/18/13, it is installer_r22.3)
- Launch the installer that you downloaded.
- Click through the installation (Install for anyone using this computer is recommended) until it is complete.
- Start the SDK Manager.
- Click the checkboxes next to:
- Android SDK Tools (22.2.1, as of 12/18/13 it is 22.3)
- Android SDK Platform-tools (18.0.1, as of 12/18/13 it is 19)
- Android SDK Build-tools (18.1.1)
- Android 4.0 (API 14) — Or whatever API you want if you’d like to have backwards compatibility with older devices
- Always keep an eye on the dashboard information provided by Google: Link. As of writing, 74% of Android devices are running a version of Android > 4.0, so that’s a safe bet minimum to start with. Dropping down to Android 2.3.3 gets you to 98%, but reduces the feature set immensely). As of this writing, Android 4.4 (API 19) is available for development, but that accounts for a whopping 1% of devices.
- Android Support Repository (2, as of 12/18/13 it is 3)
- Android Support Library (18, as of 12/18/13 it is 19)
- Google Repository (3, as of 12/18/13 it is 4)
- Google USB Driver (8)
- Click Install packages…
- Accept the required license agreements (or stop here because you can’t go any further).
- Wait (for a long time) until the installation is complete.
- Setup an AVD:
- Launch the AVD Manager from the Start Menu.
- Click New…
- Type in a name in the AVD Name: field.
- Select Nexus 4 (4.7″, 768×1280: xhdpi) from the Device: field.
- Select Android 4.3 – API Level 18 from the Target: field (or whatever you selected in Step 15, Substep 4).
- Select ARM (armeabi-v7a) from the CPU/ABI: field.
- Adjust the Memory Options:, RAM: to 1024.
- Adjust Internal Storage: to 1024 MiB.
- Adjust SD Card:, Size: to 1024 MiB.
- Click the check box next to Use Host GPU.
- Click OK.
- Select it from the list of AVD’s.
- Click Start…
- (Optional): If you get an error “Failed to allocate memory: 8” error with an emulator-arm.exe has stopped working message you must go to: C:\Users\<windows username>\.android\avd\<avd name>.avd\config.ini and change the line hw.ramSize=1024 to hw.ramSize=1024MB. Try restarting the AVD. It should work.
- You may now close the emulator window. We don’t need it until we setup Eclipse, our IDE.
- Navigate to Eclipse.
- Download Eclipse Standard (x, as of writing 4.3.1) for your flavor of Operating System. I selected Windows x64.
- Extract the archive to the root of your C drive (it should now be in a folder C:\Eclipse).
- Once it is extracted, run eclipse.exe
- Create a workspace for your Android development projects. Typically: C:\Users\<windows username>\workspace\Android. If all you’re going to do is Android development, go ahead and click the default box.
- Once Eclipse loads we need to load the ADT plugins. Click Help and then Install New Software.
- Click Add at the top of the new window.
- You can name this new repository whatever you’d like, but the location field must be:
https://dl-ssl.google.com/android/eclipse/
- Once it loads, click the check box next to Developer Tools and then click Next >.
- Click Next > again.
- Accept the licenses and click Finish. Let the software install (it will take a small amount of time to download and install it).
- Click OK when you get the warning about unsigned content. It’s ok I promise!
- Click Yes when prompted to restart.
- Click Yes or No to sending usage statistics. It’s isn’t required but is helpful.
- Click Window and then click Preferences. Select Android from the list.
- Verify that the SDK location is correct and that you have the API level you selected in Step 15 Substep 4.
- Now all we need to do is link our AVD to the IDE environment.
- Click the X to the top left in the “Welcome Screen” window.
- All done!
Testing Your IDE:
- Click File, click New, click Project.
- Select the Android folder and select Android Application Project.
- Fill in the details.
- Application Name: is what the application will be called. For this I used: Testing IDE Settings.
- Project Name: typically gets auto-generated, you may leave it alone unless you really want to change it.
- Package Name: is usually the application name put after your webhost, if you have one. For example mine was: org.homenet.talesofatech.testingidesettings.
- Make sure the SDK/Compile With settings match. This is where you determine what the minimum and required levels of the Android version are.
- Click Next >.
- Uncheck Create custom launcher icon. Click Next >.
- Click Next > again.
- Click Finish.
- Now we need to link an AVD to this project in the IDE. Click Run and then click Run Configurations.
- Double click on Android Application.
- Change the name to Test Configuration
- Click Browse and select your project name.
- Click the Target tab and click the check box to the left of the name of your AVD.
- Click Apply and then click Run.
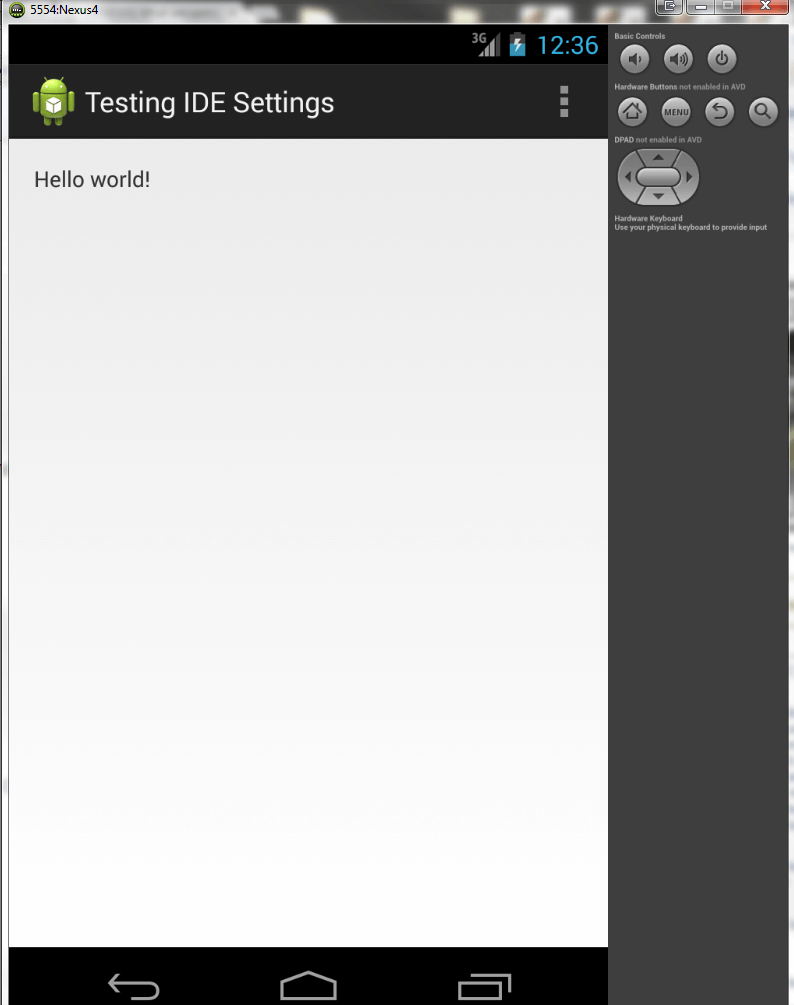
- If all is working, you should see the AVD system start up and then load your app, as in the screenshot:

- Note: if you get a message about Logcat, you can click OK. It’s for troubleshooting and diagnostics, which you’ll probably need later.
Wow, only 37 steps to get started! Easy-peasey! In all seriousness, good write-up.
haha I know right? The books I read have it in 12 steps but they’re kind of a general overview of steps and not as precise as mine are. I found that their guides were not 100% accurate, so if you have time to try it out and verify it please post and let me know if it works. 🙂