Today is a good day, and it’s only 10:05am. Here’s a great tip for those of you who work in I.T. shops and have Dell 5110cn Printers.
You know those pesky transfer rollers? Yeah, the things that need to be replaced 3x as often as the Imaging Drum they’re often sold with? Yeah, it turns out that you can re-use them successfully. I know, I did it myself just today.
Wanna see how?
Words of warning: This process may (will) void whatever is left on your warranty or service contract on your Dell 5110cn Printer.
Additionally: This process will generate a metric fuckton of smoke which is actually toner. DON’T BREATHE THIS. It’s not pleasant stuff.
Also of note, the Dell 5100cn Printer is basically the same thing, so the process is probably exactly the same.
Things you’ll need to have:
- A completely used up Dell 5100/5110cn Transfer Roller (when installed in the printer you’ll get error: 094-911: Replace Transfer Roller).
- A Multi-Tool of Some Kind (or pliers and screw drivers)
- A Tornado In A Can or other high-powered air blower.
- A Garbage Can
- (Optional) Face Mask to prevent toner inhalation (a very real risk here)
- Gloves (just… trust me on this one)
Let’s get this party started!
- With the transfer roller in front of you, turn it so the side with the white cap is facing you.
- Using a small, flathead screwdriver pry up the tab of the white clip and move it counter-clockwise until it snaps into the groove. See pictures for explanation.
- Pull the white clip out, place it aside.
- Grab hold of the now-exposed metal of the transfer roller. Pull gently, but firmly towards you until it frees itself from the black clip on the other side of the assembly.
- Gently wipe down the transfer roller to remove excess toner.
- Place the transfer roller aside (preferably in an anti-static bag, but a paper towel will suffice).
- You should now see the exposed waste toner bay in the assembly. This is what we’re after!
- Tap the toner cartridge against a waste bin for about a minute to shake all the toner out of the cartridge. Don’t breathe in the smoke please 🙁
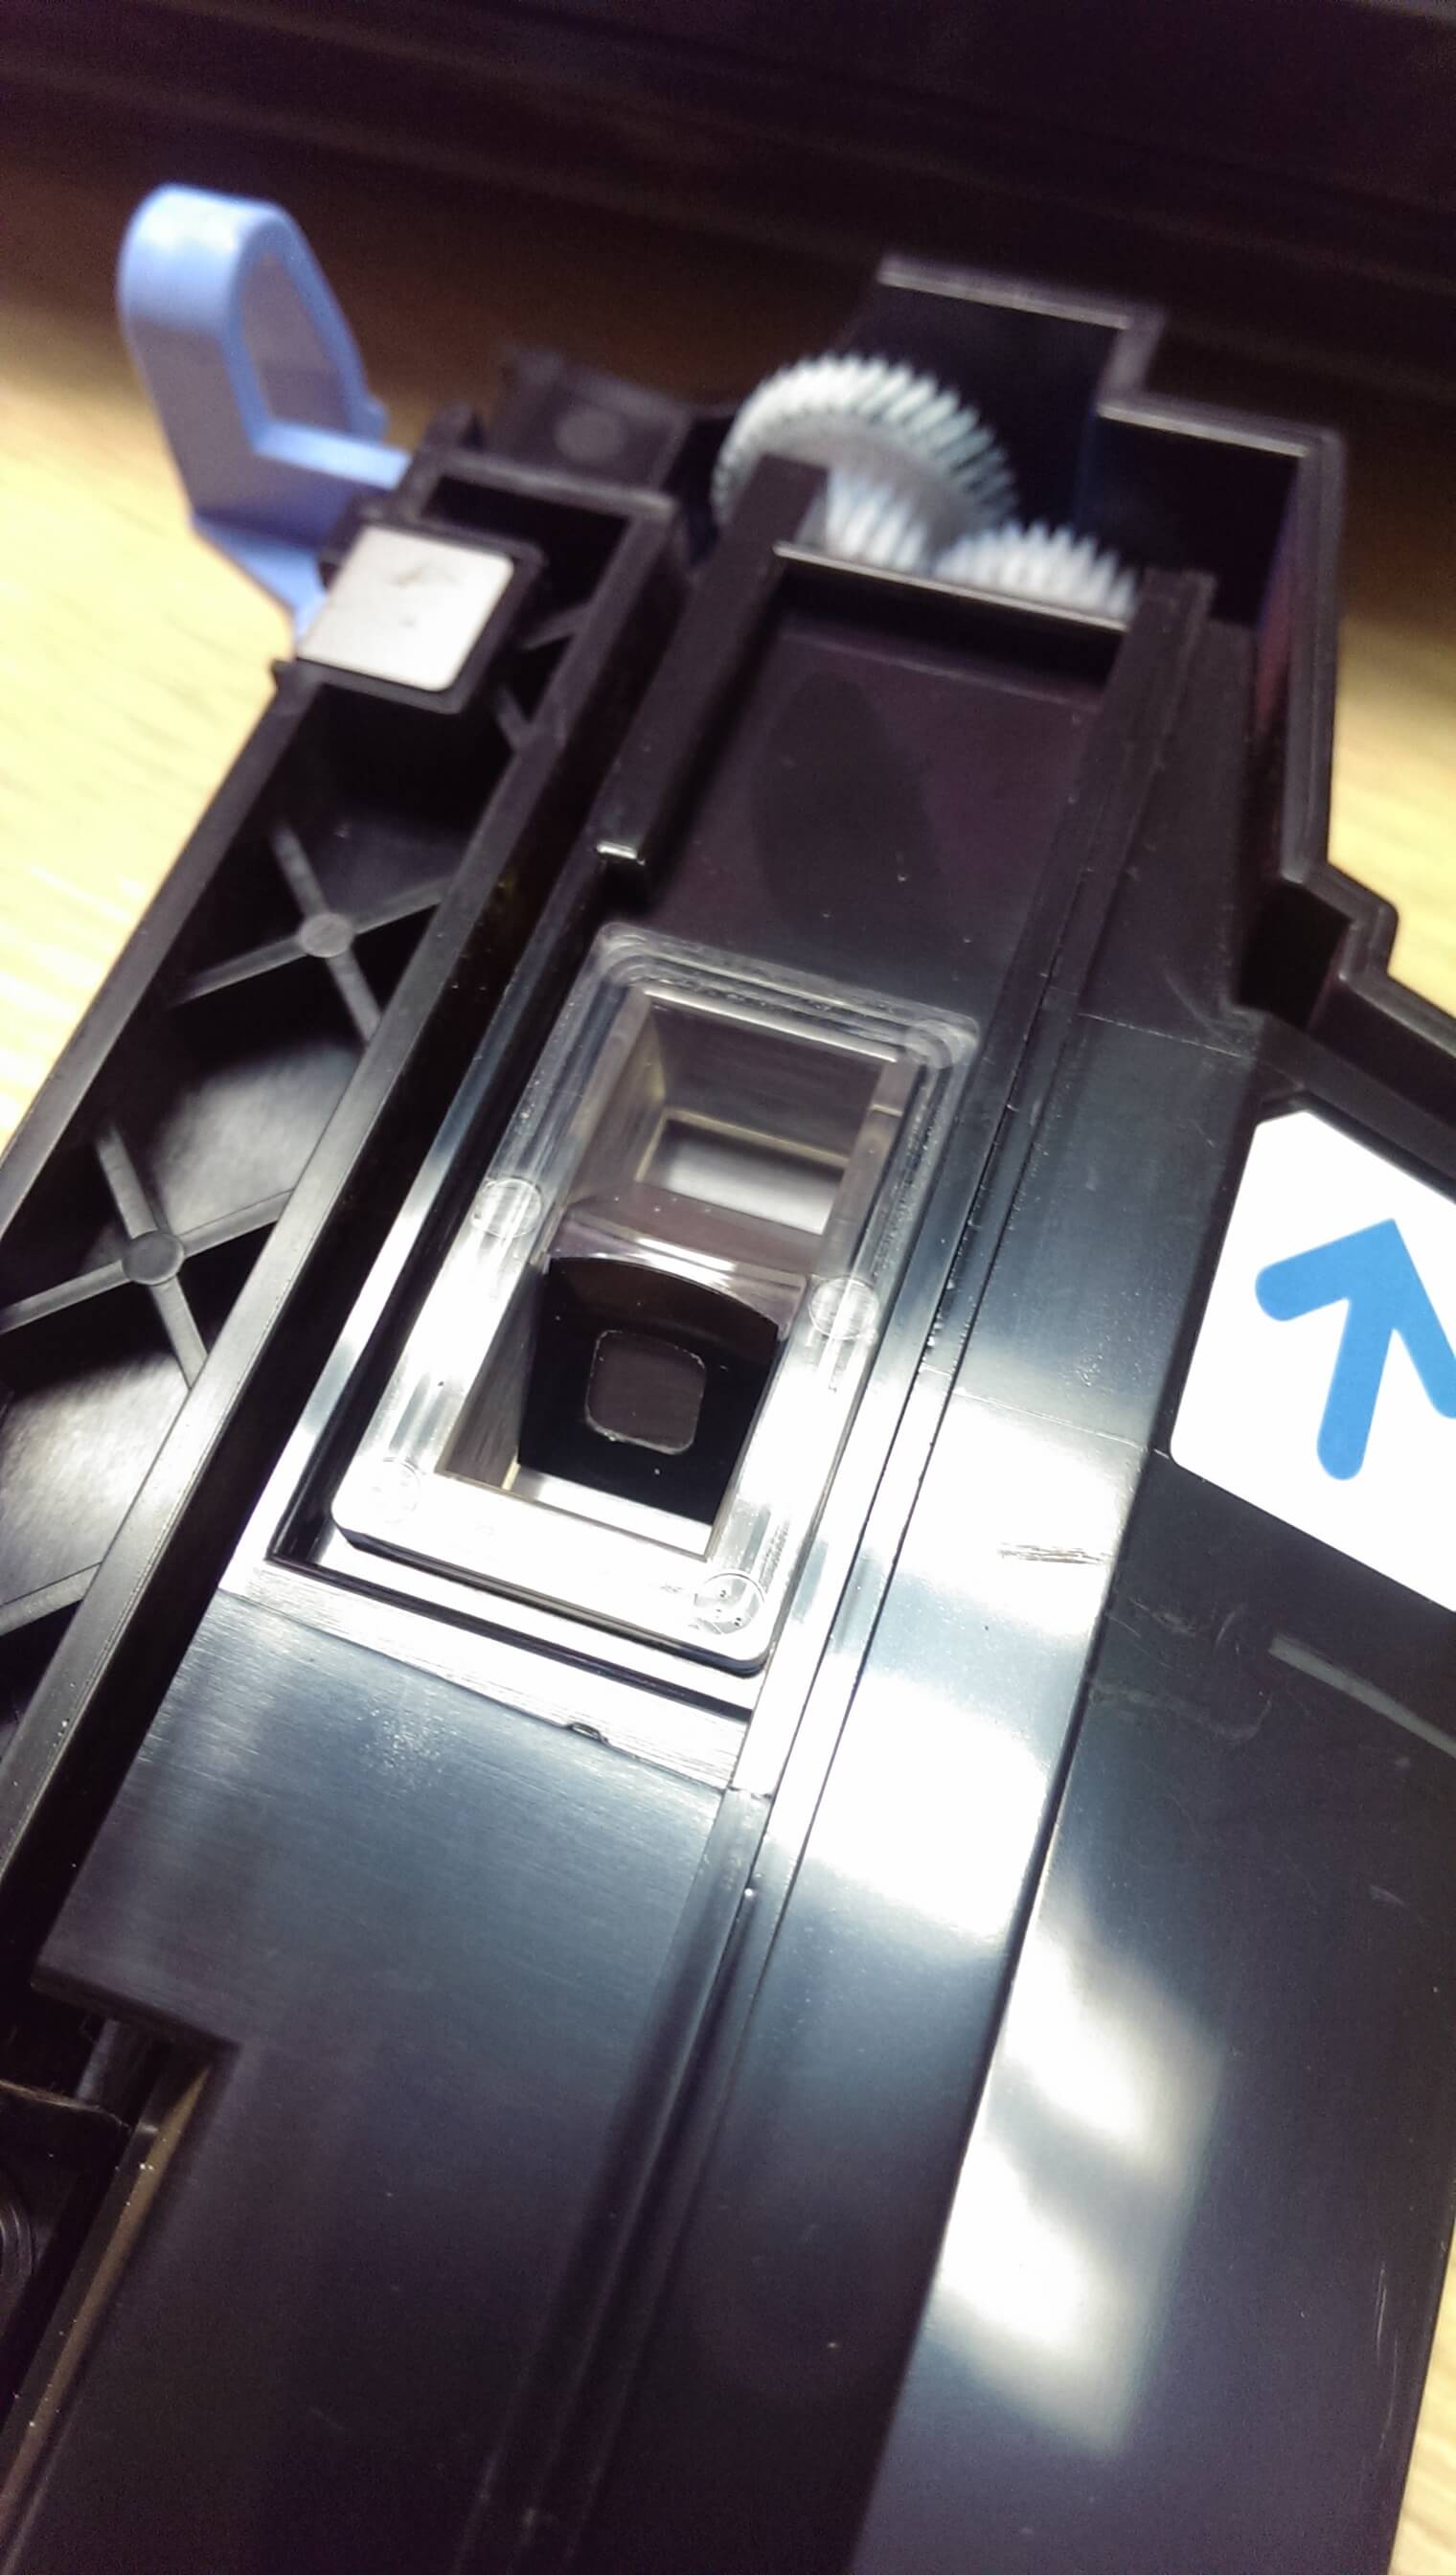
- Take your tornado in a can and blow out the internal bay and all surfaces of the assembly. It won’t be perfect, but you’re shooting to get the little window in the back of the unit to be relatively clear of discoloration.
- Re-install the transfer roller by inserting the metal shaft back into the black tab and sliding it gently back into place. If you did it right, the unit will sort of collapse into place. Make sure you put the gears on the correct side!
- Place the white clip back on the end of transfer roller.
- Use your pliers to nudge the white clip back into the correct groove.
- Test it!
-
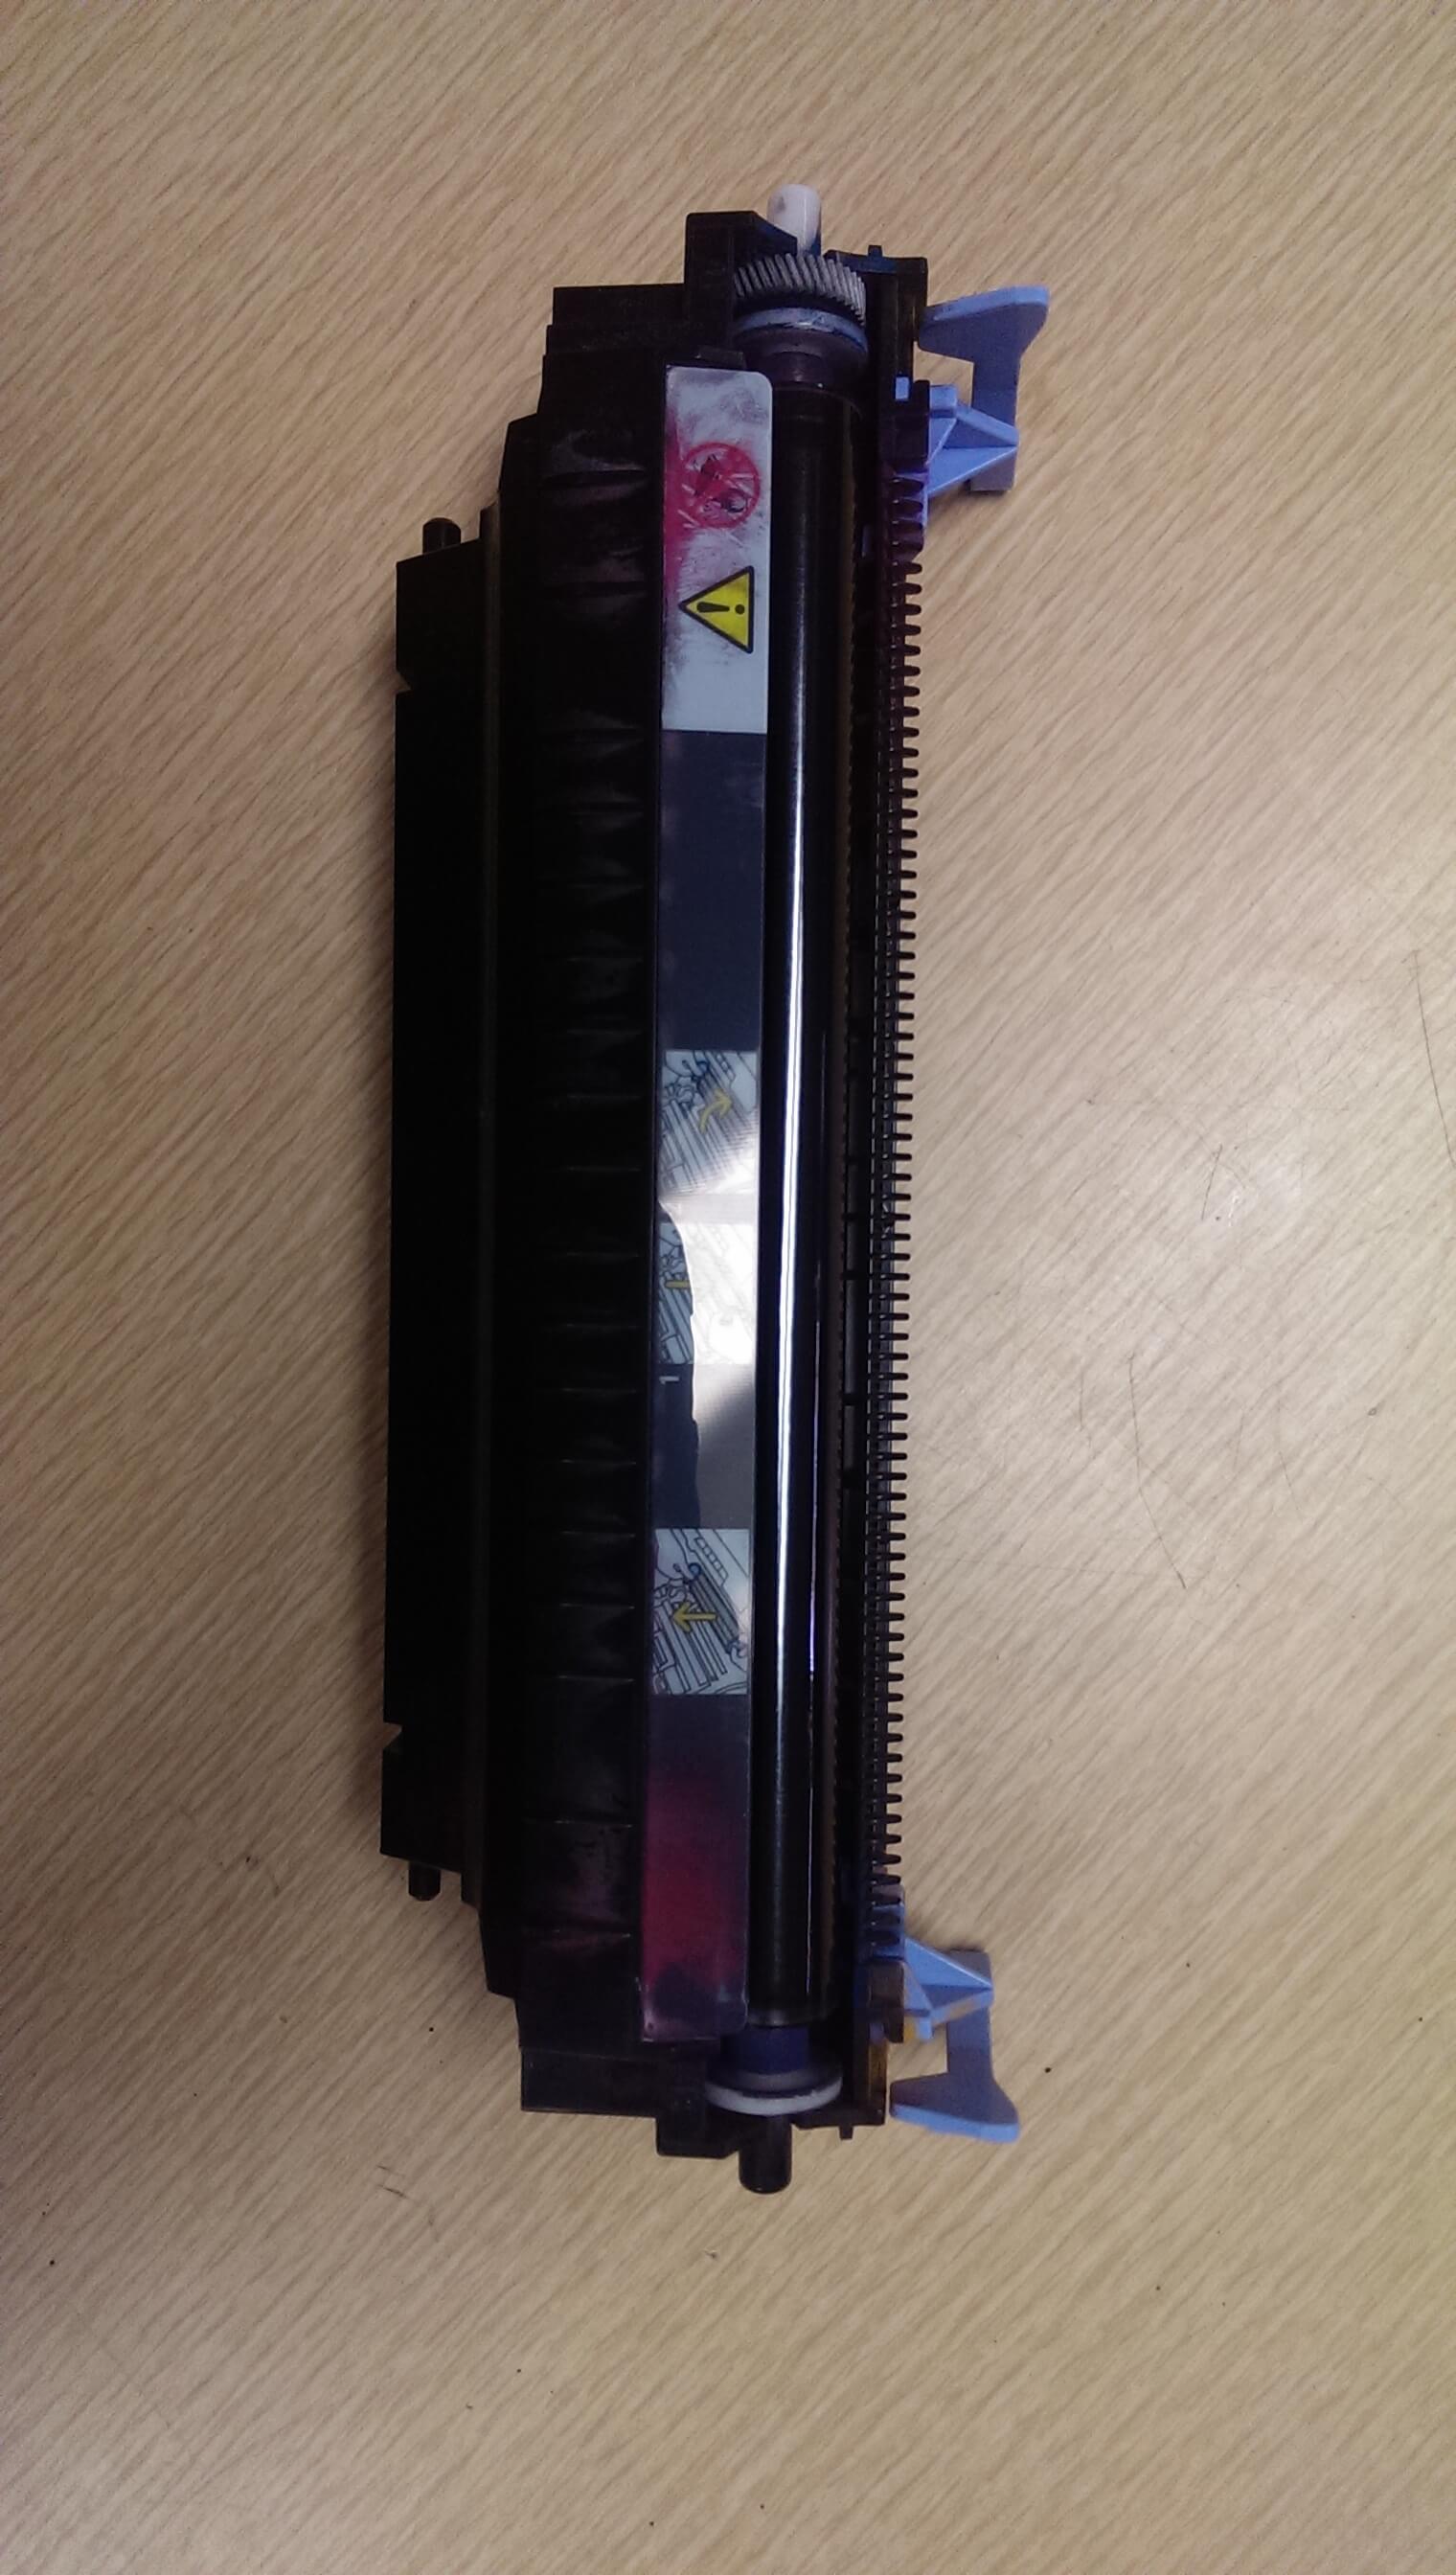
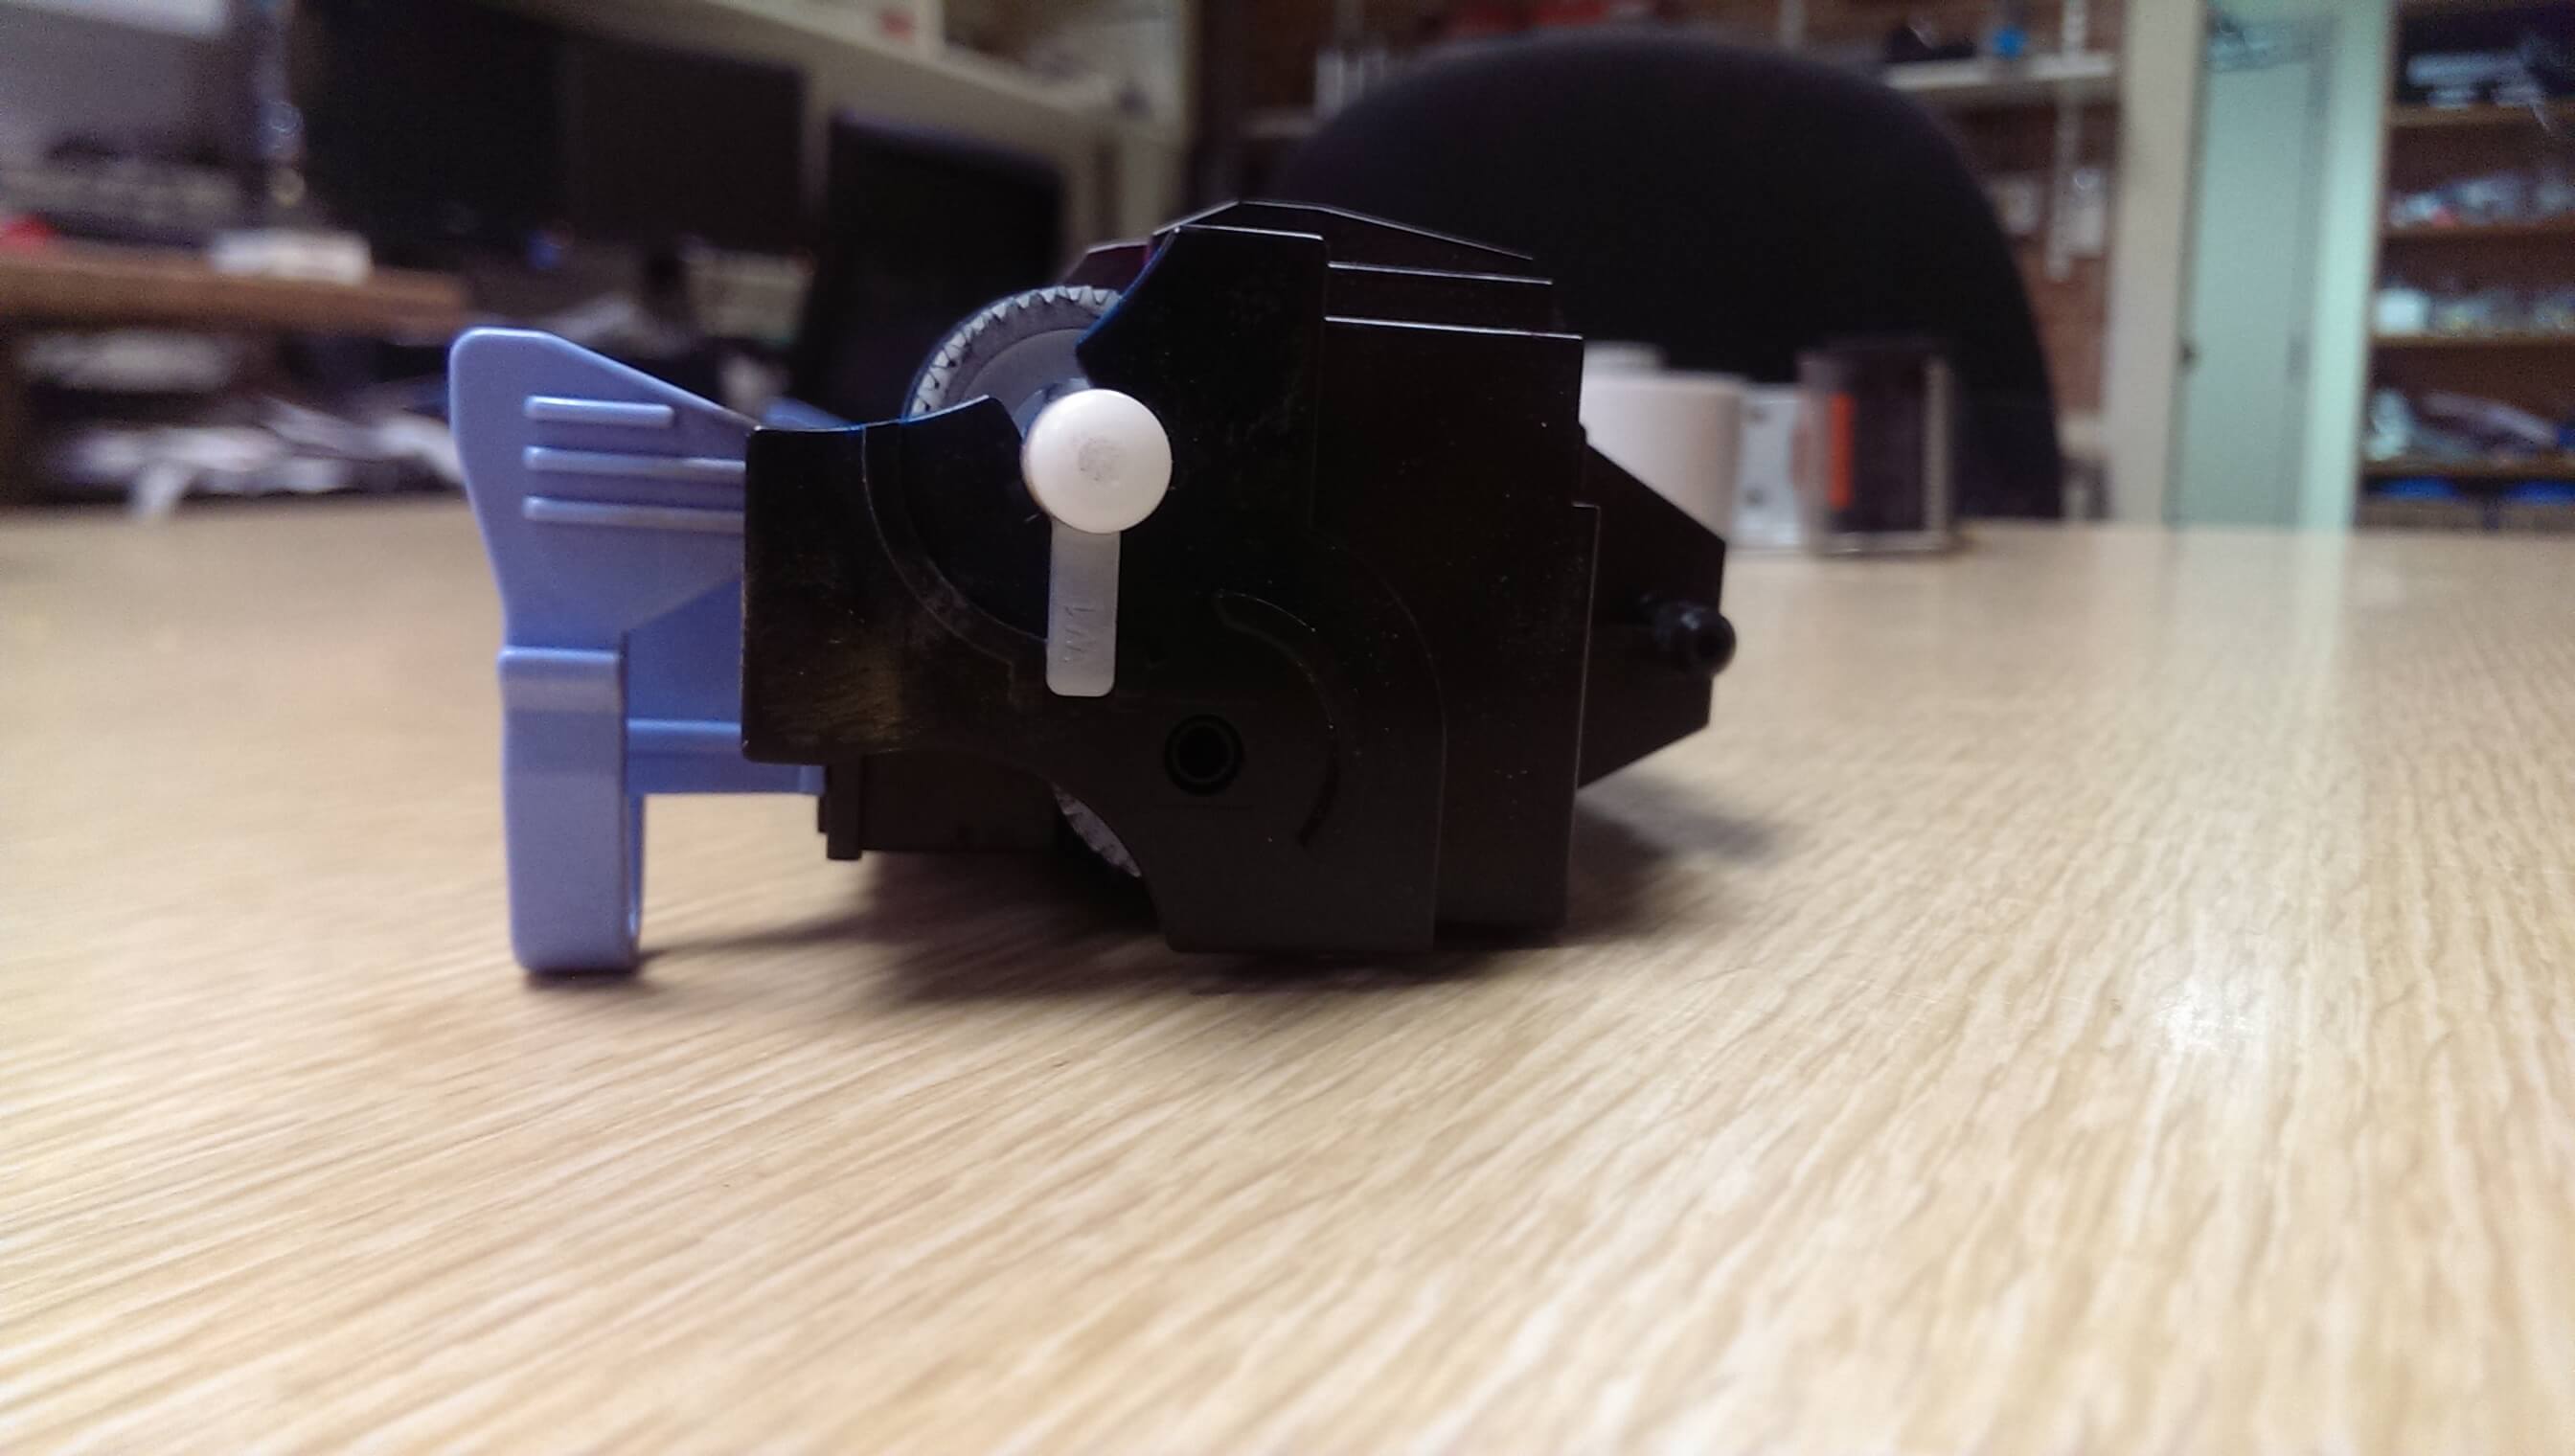
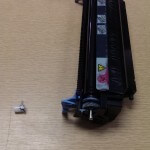
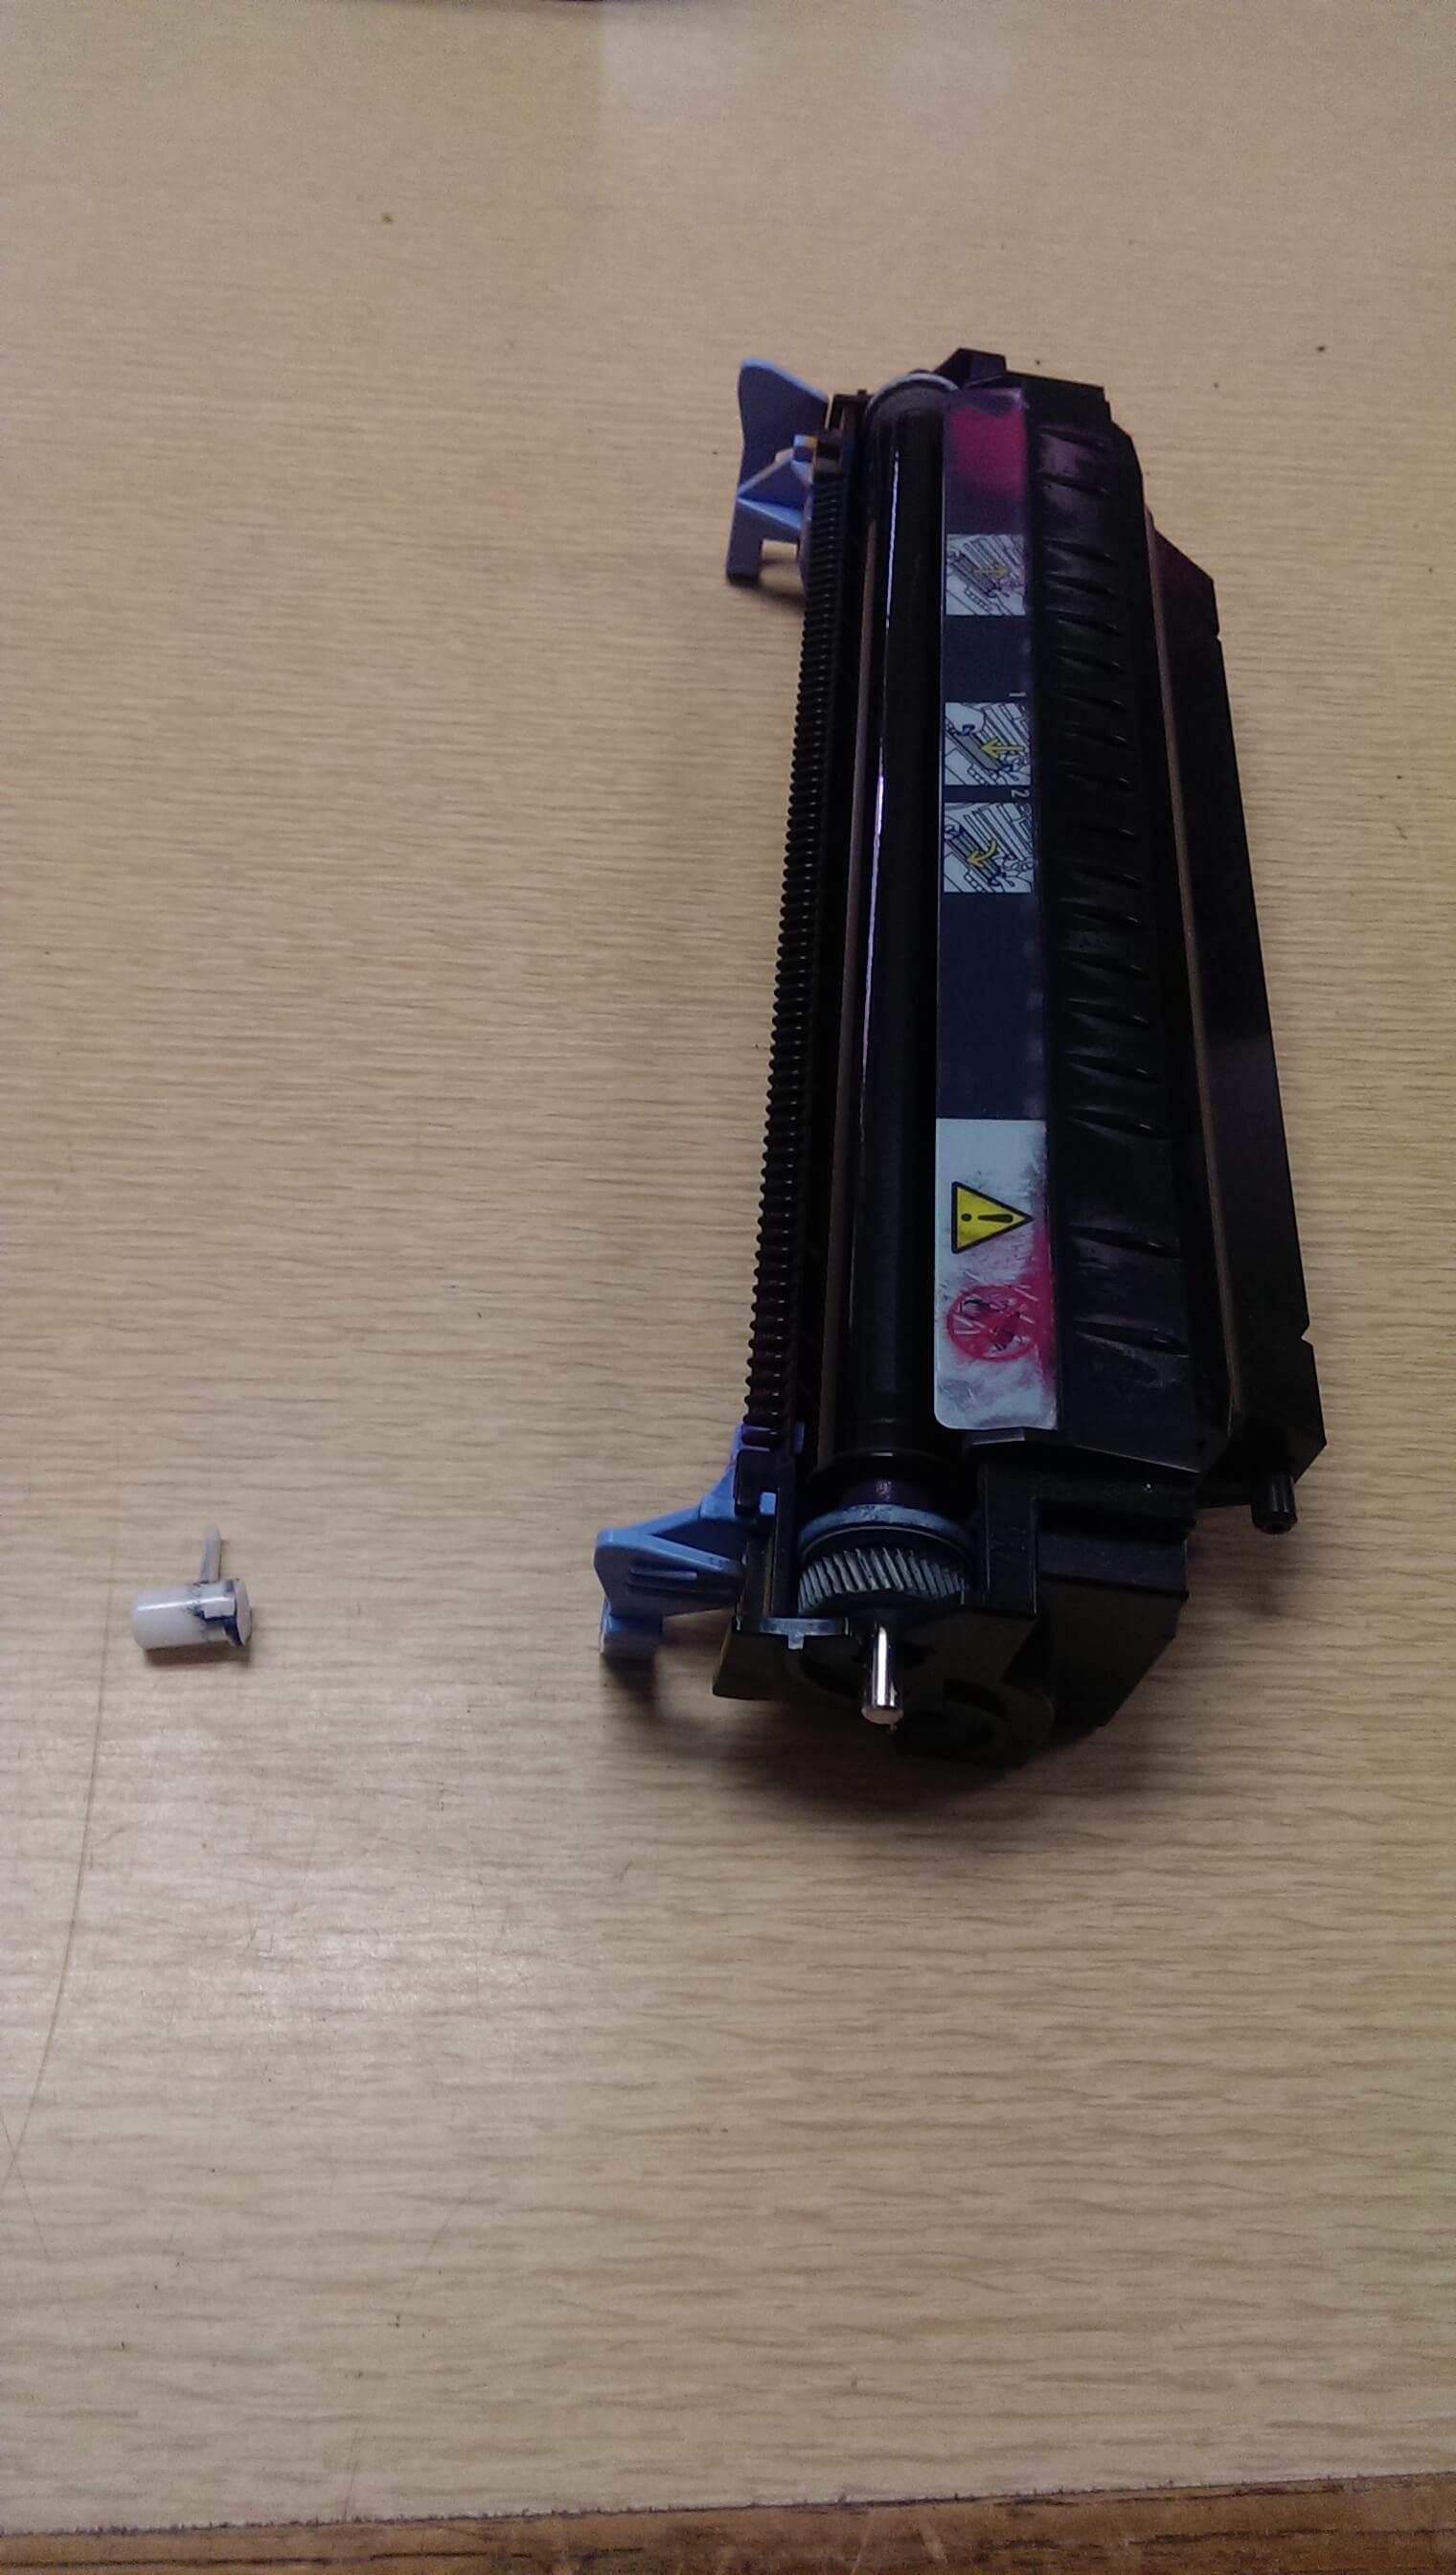
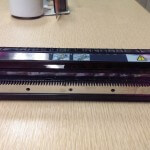
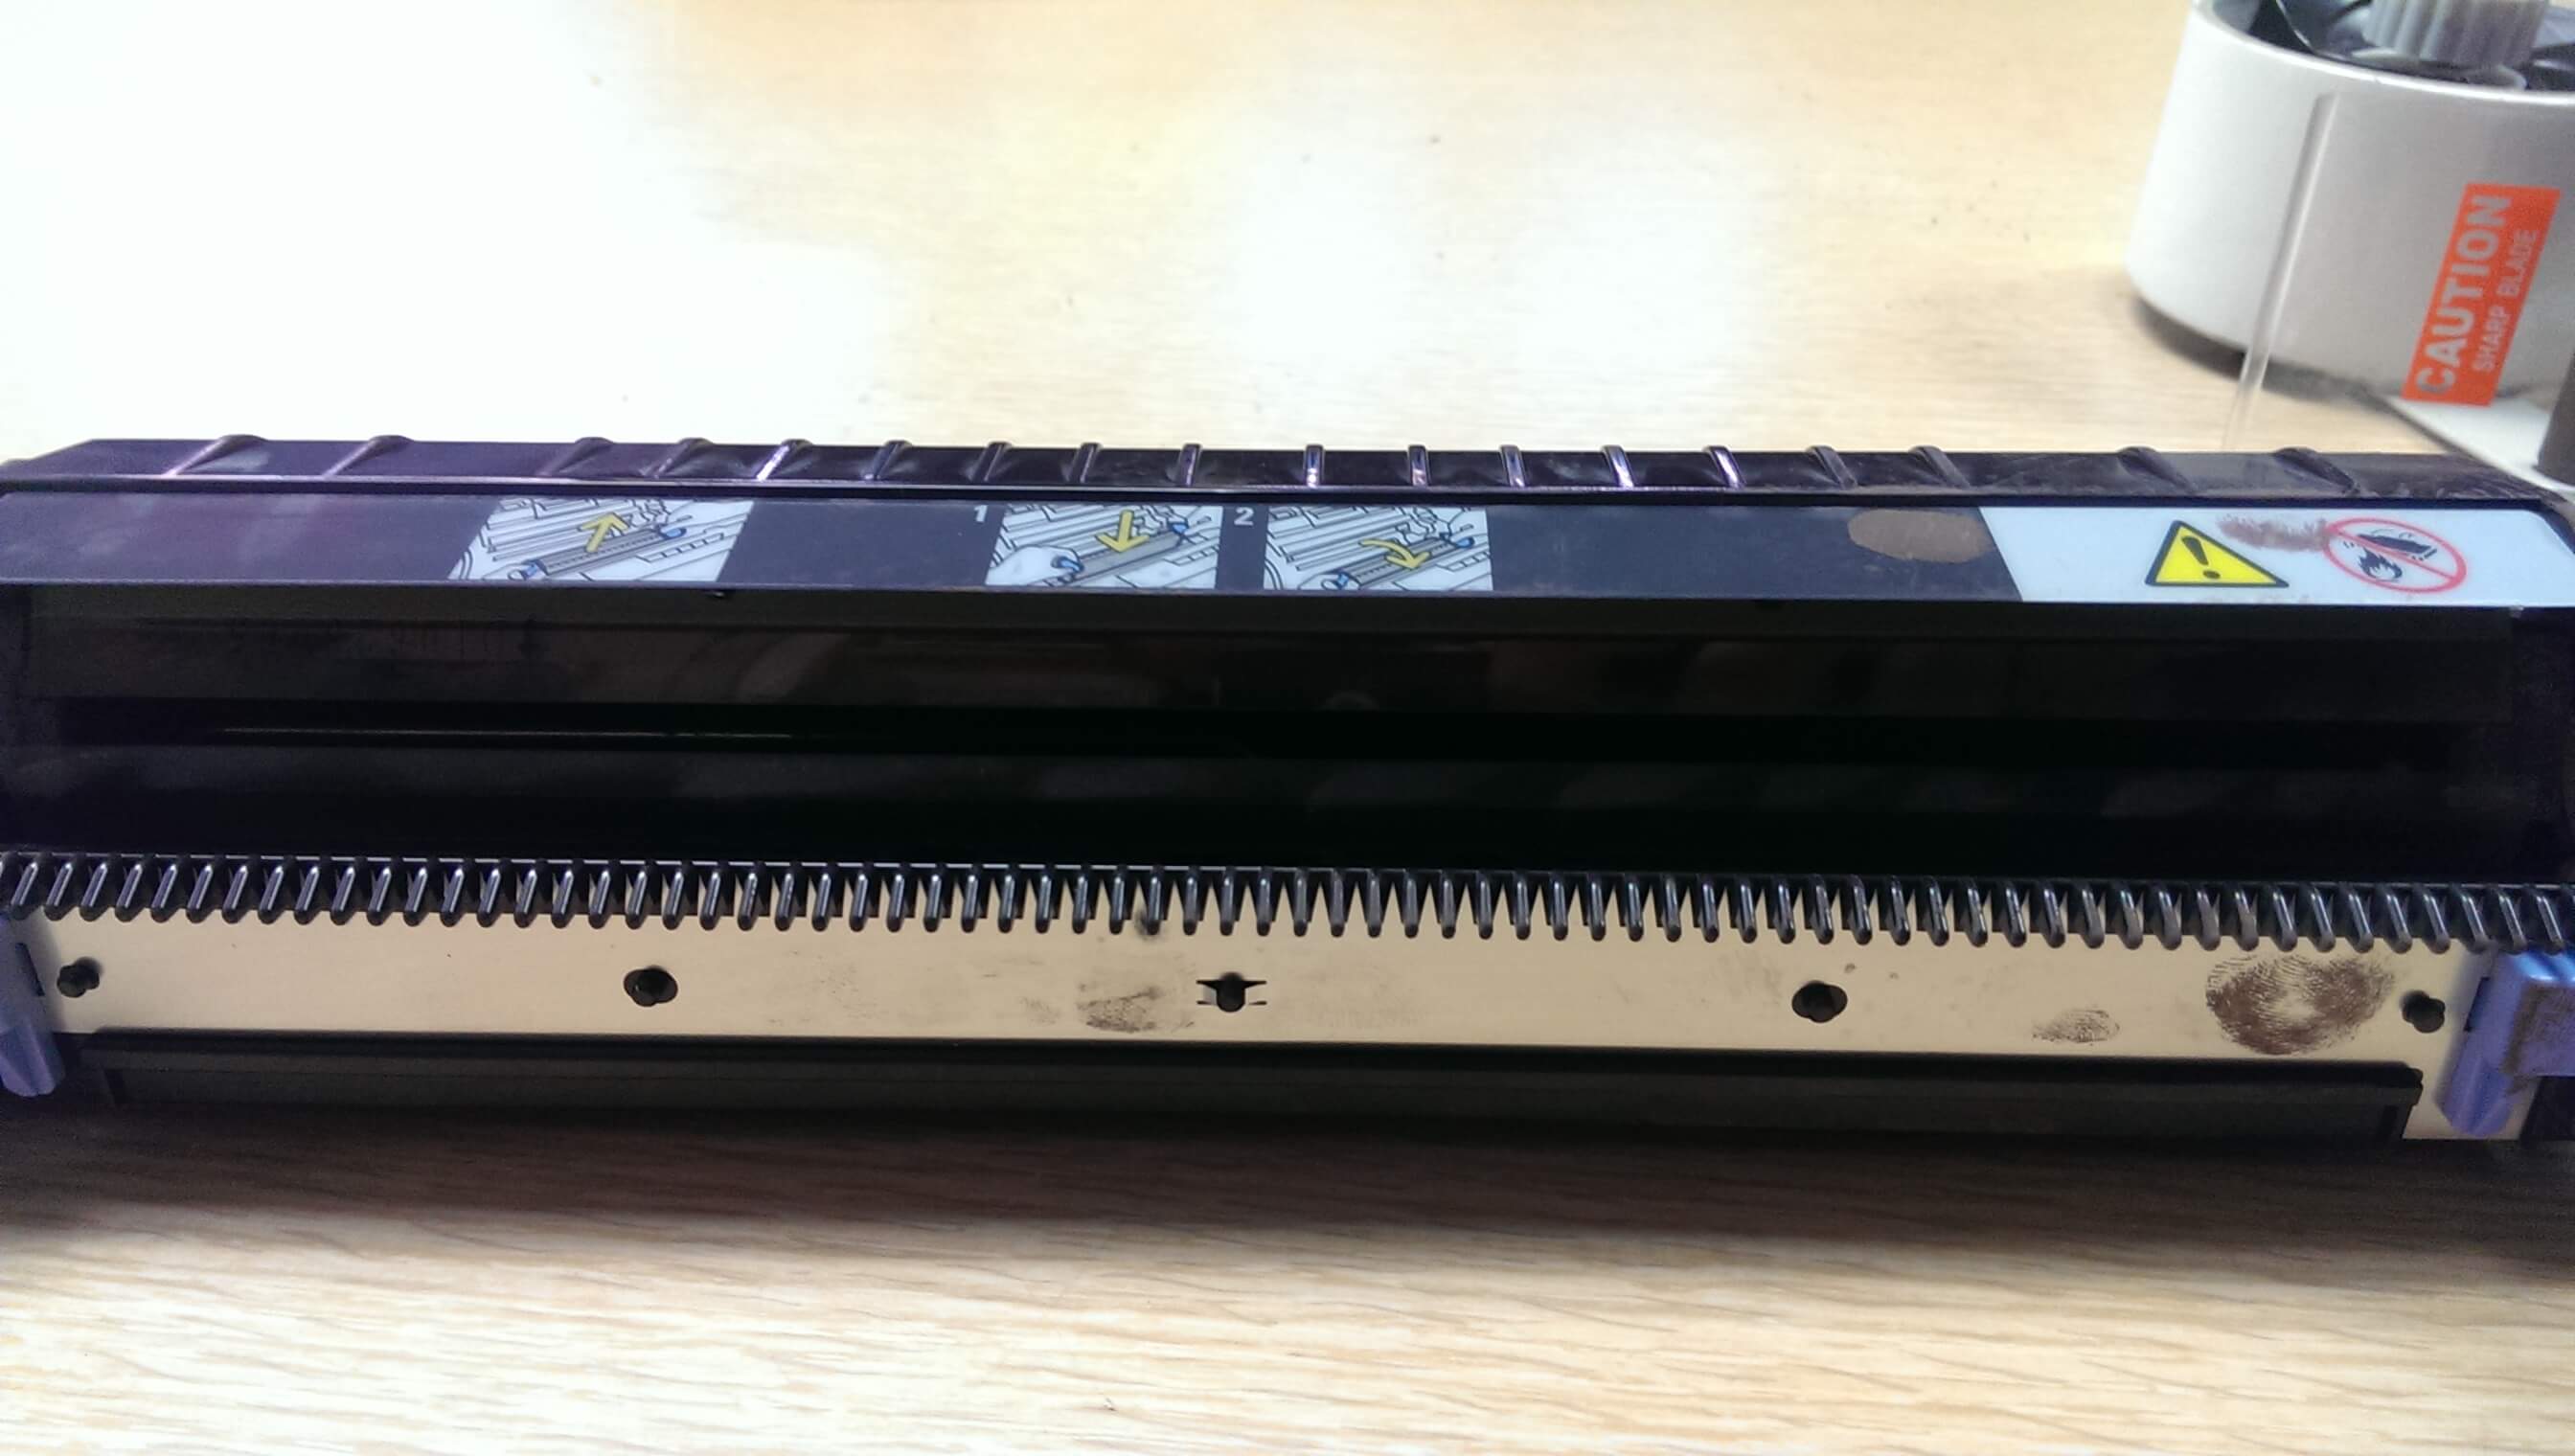
- The original transfer roller assembly.
-
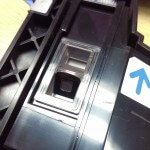
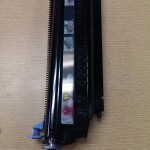
- The ‘window’ before cleaning.
-
- The white tab, original position.
-
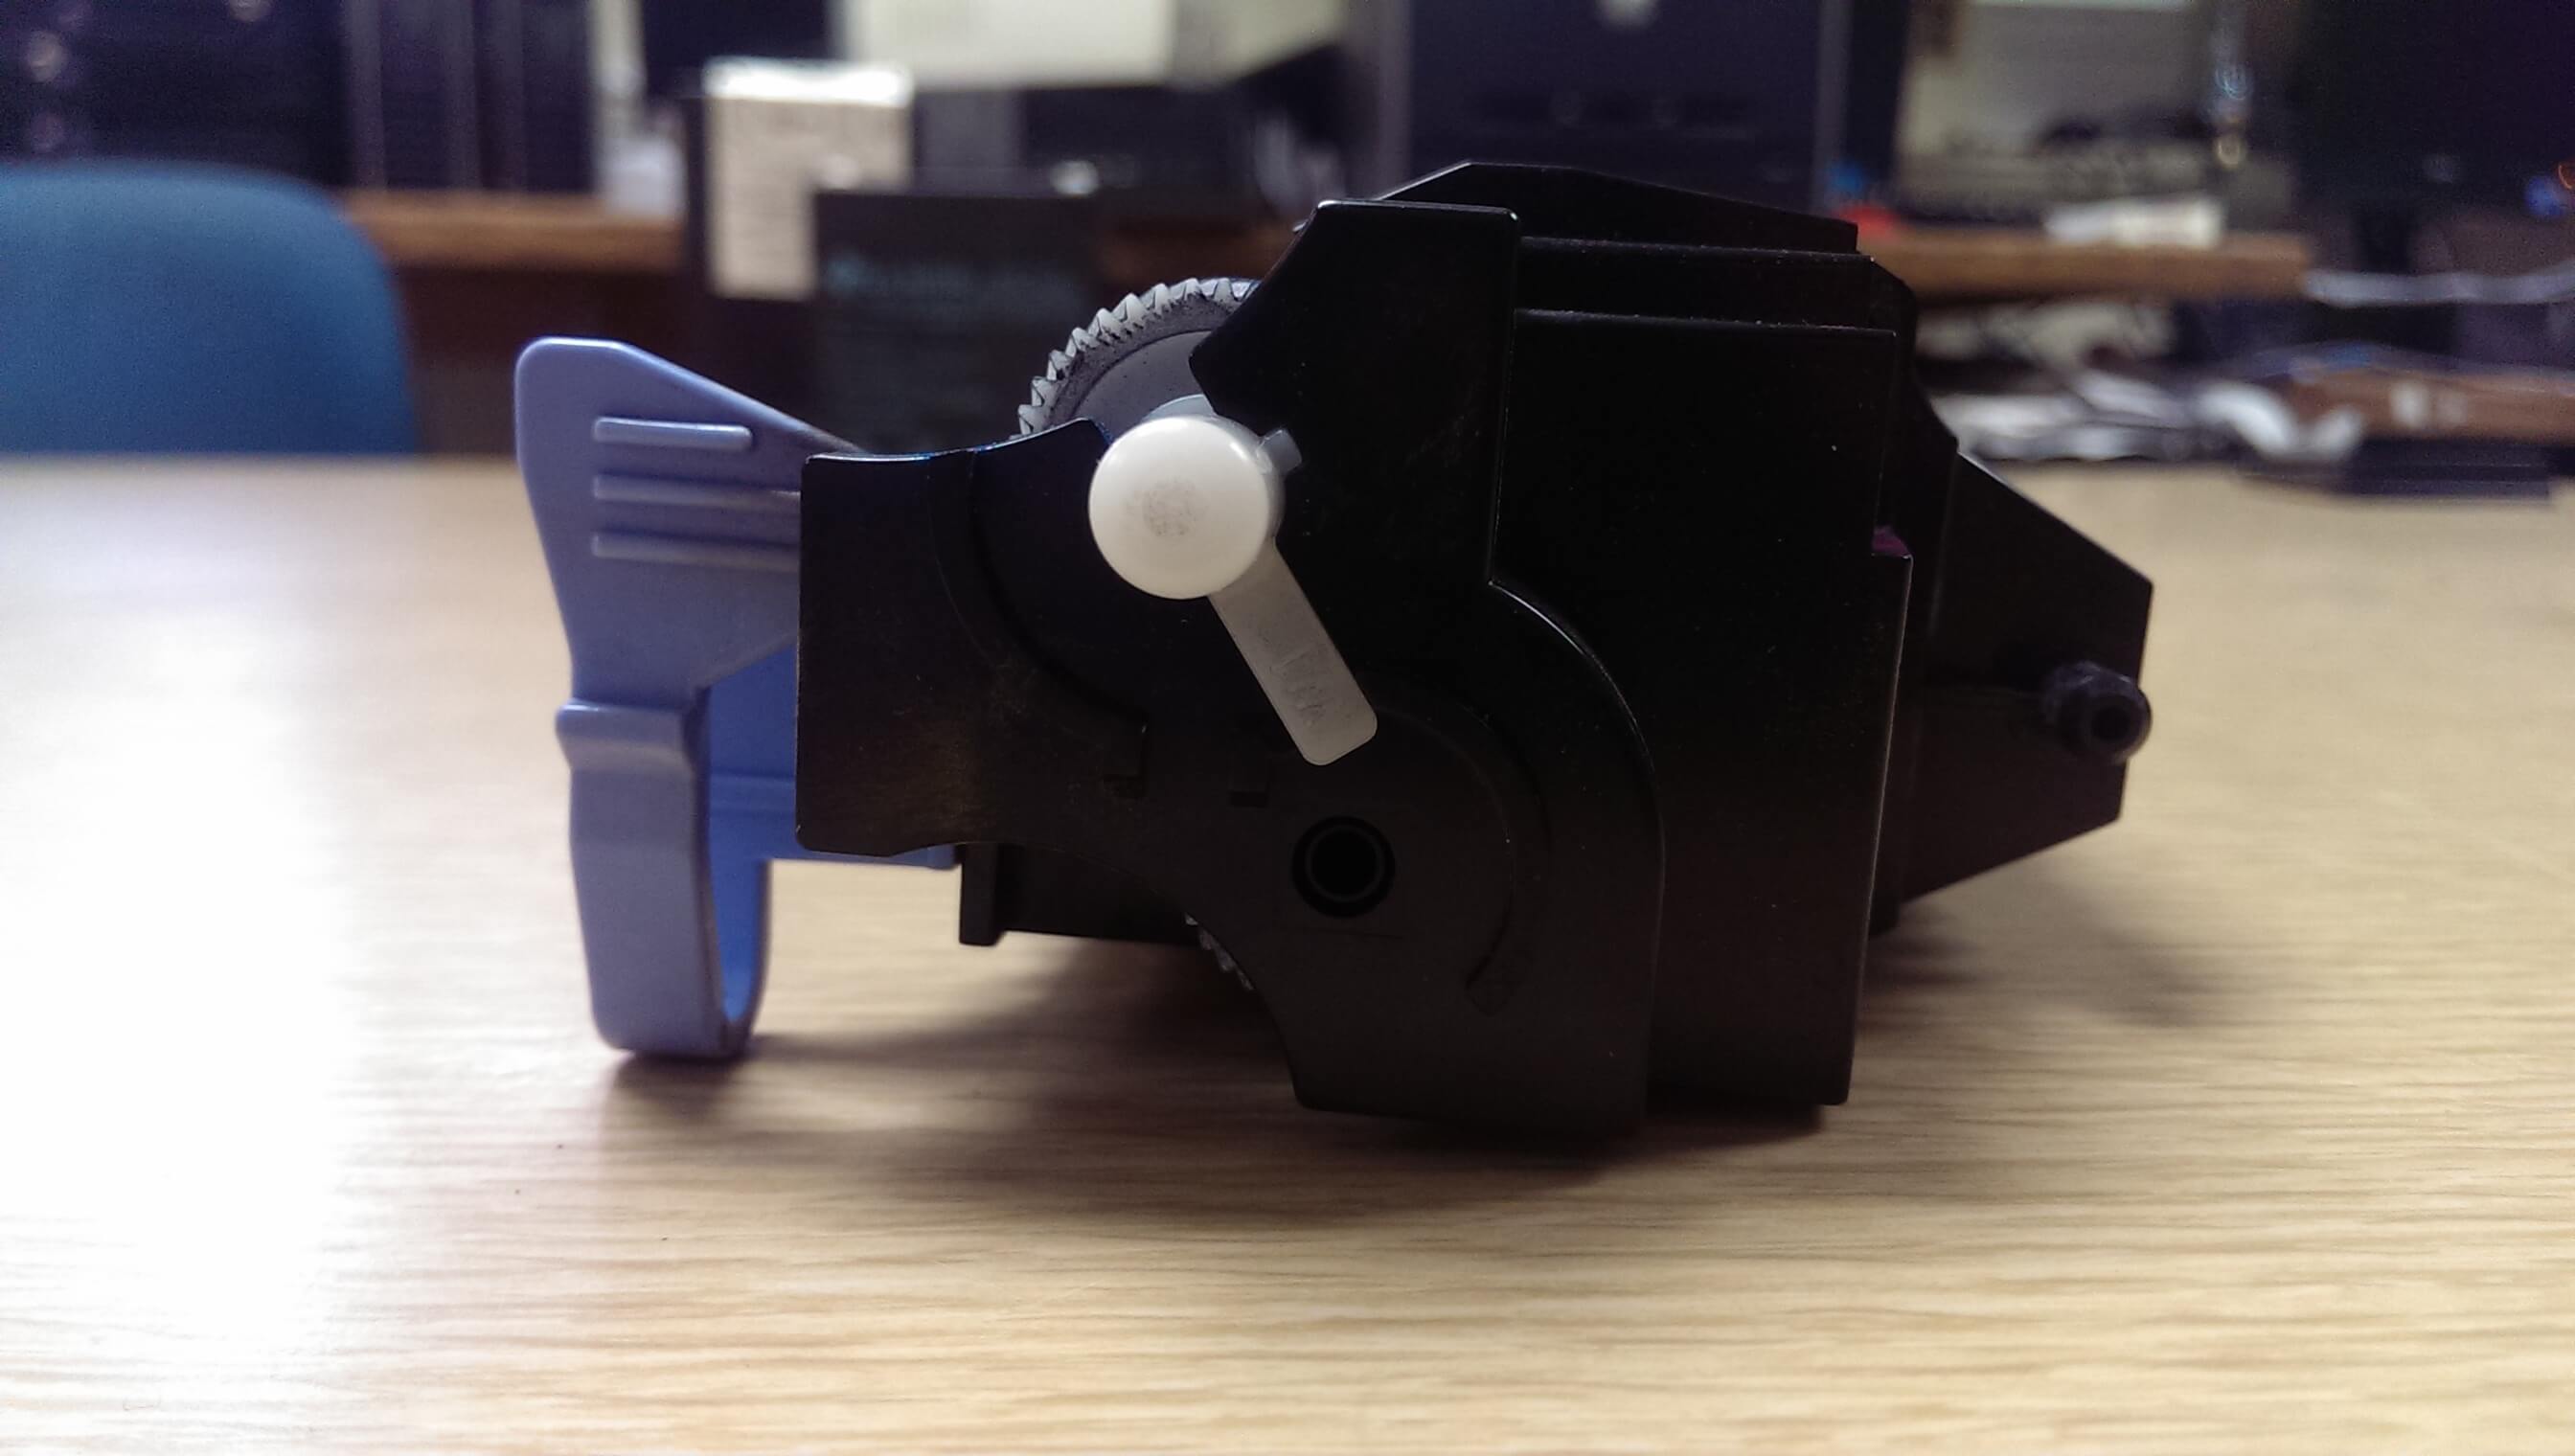
- The white tab, moved to the removable position.
-
- The white tab, removed.
-
- Starting to remove the transfer roll from the assembly.
-
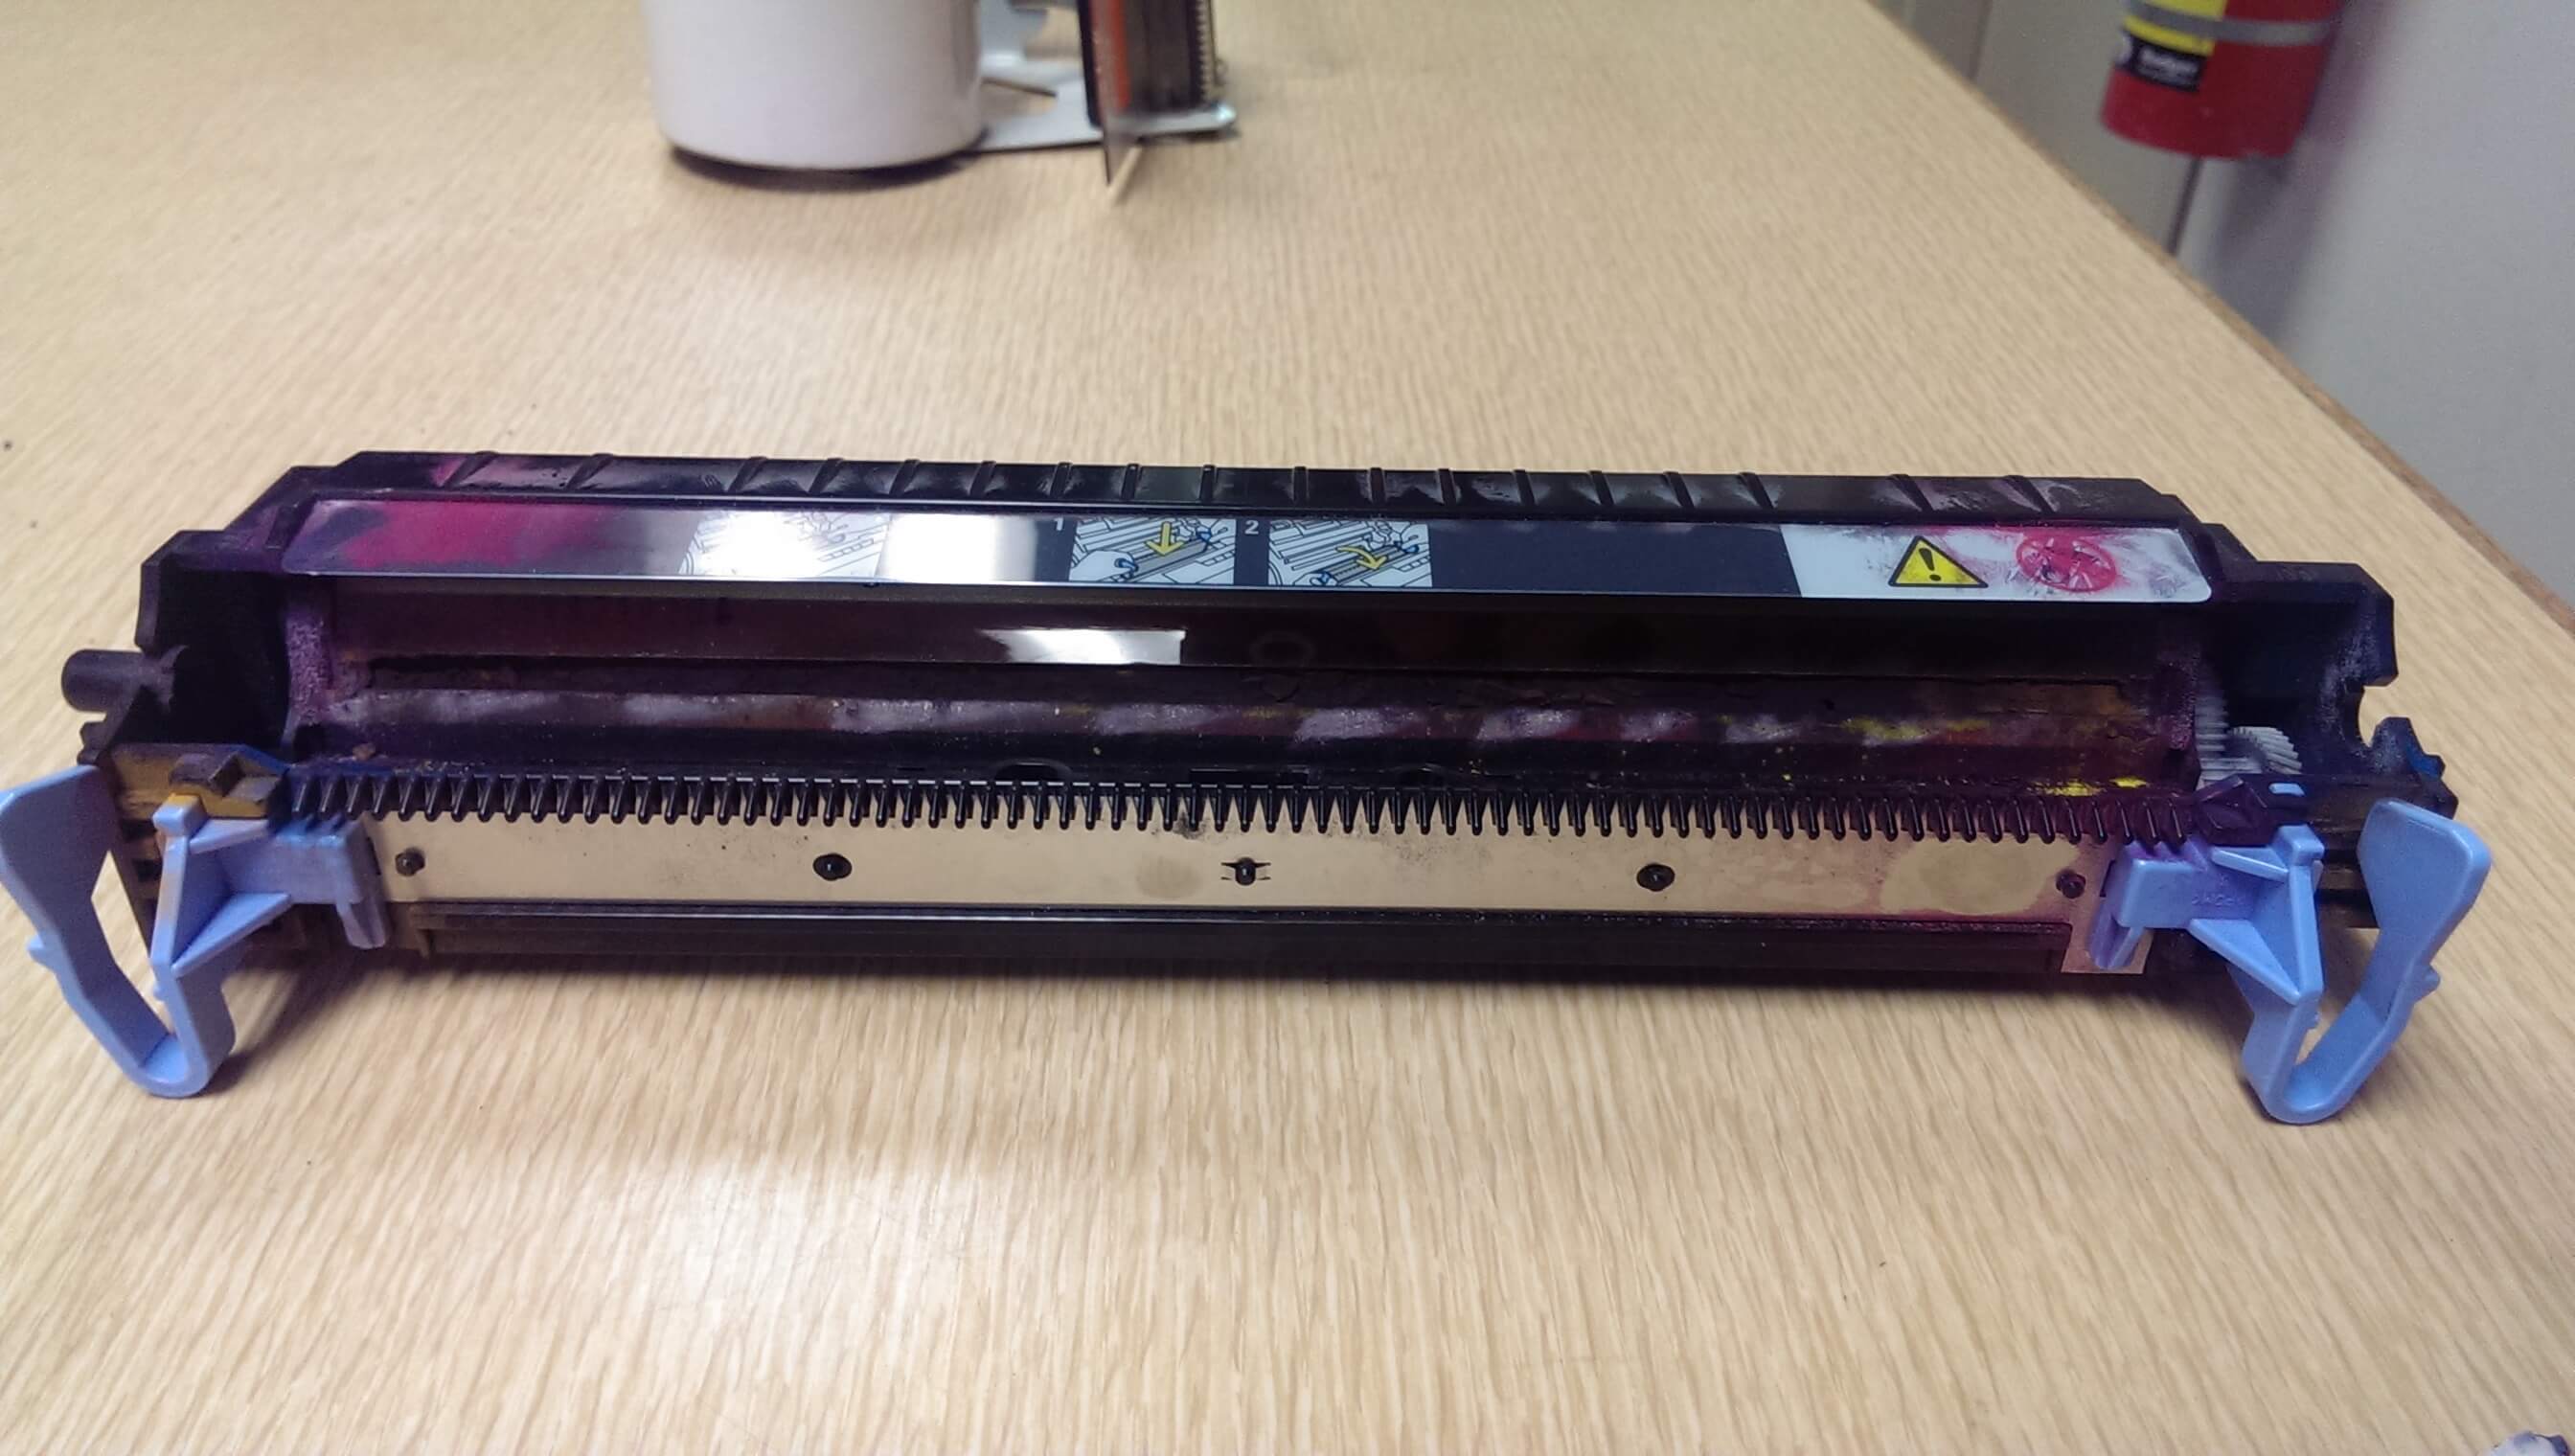
- The toner bay is now visible. Look at all that gunk!
-

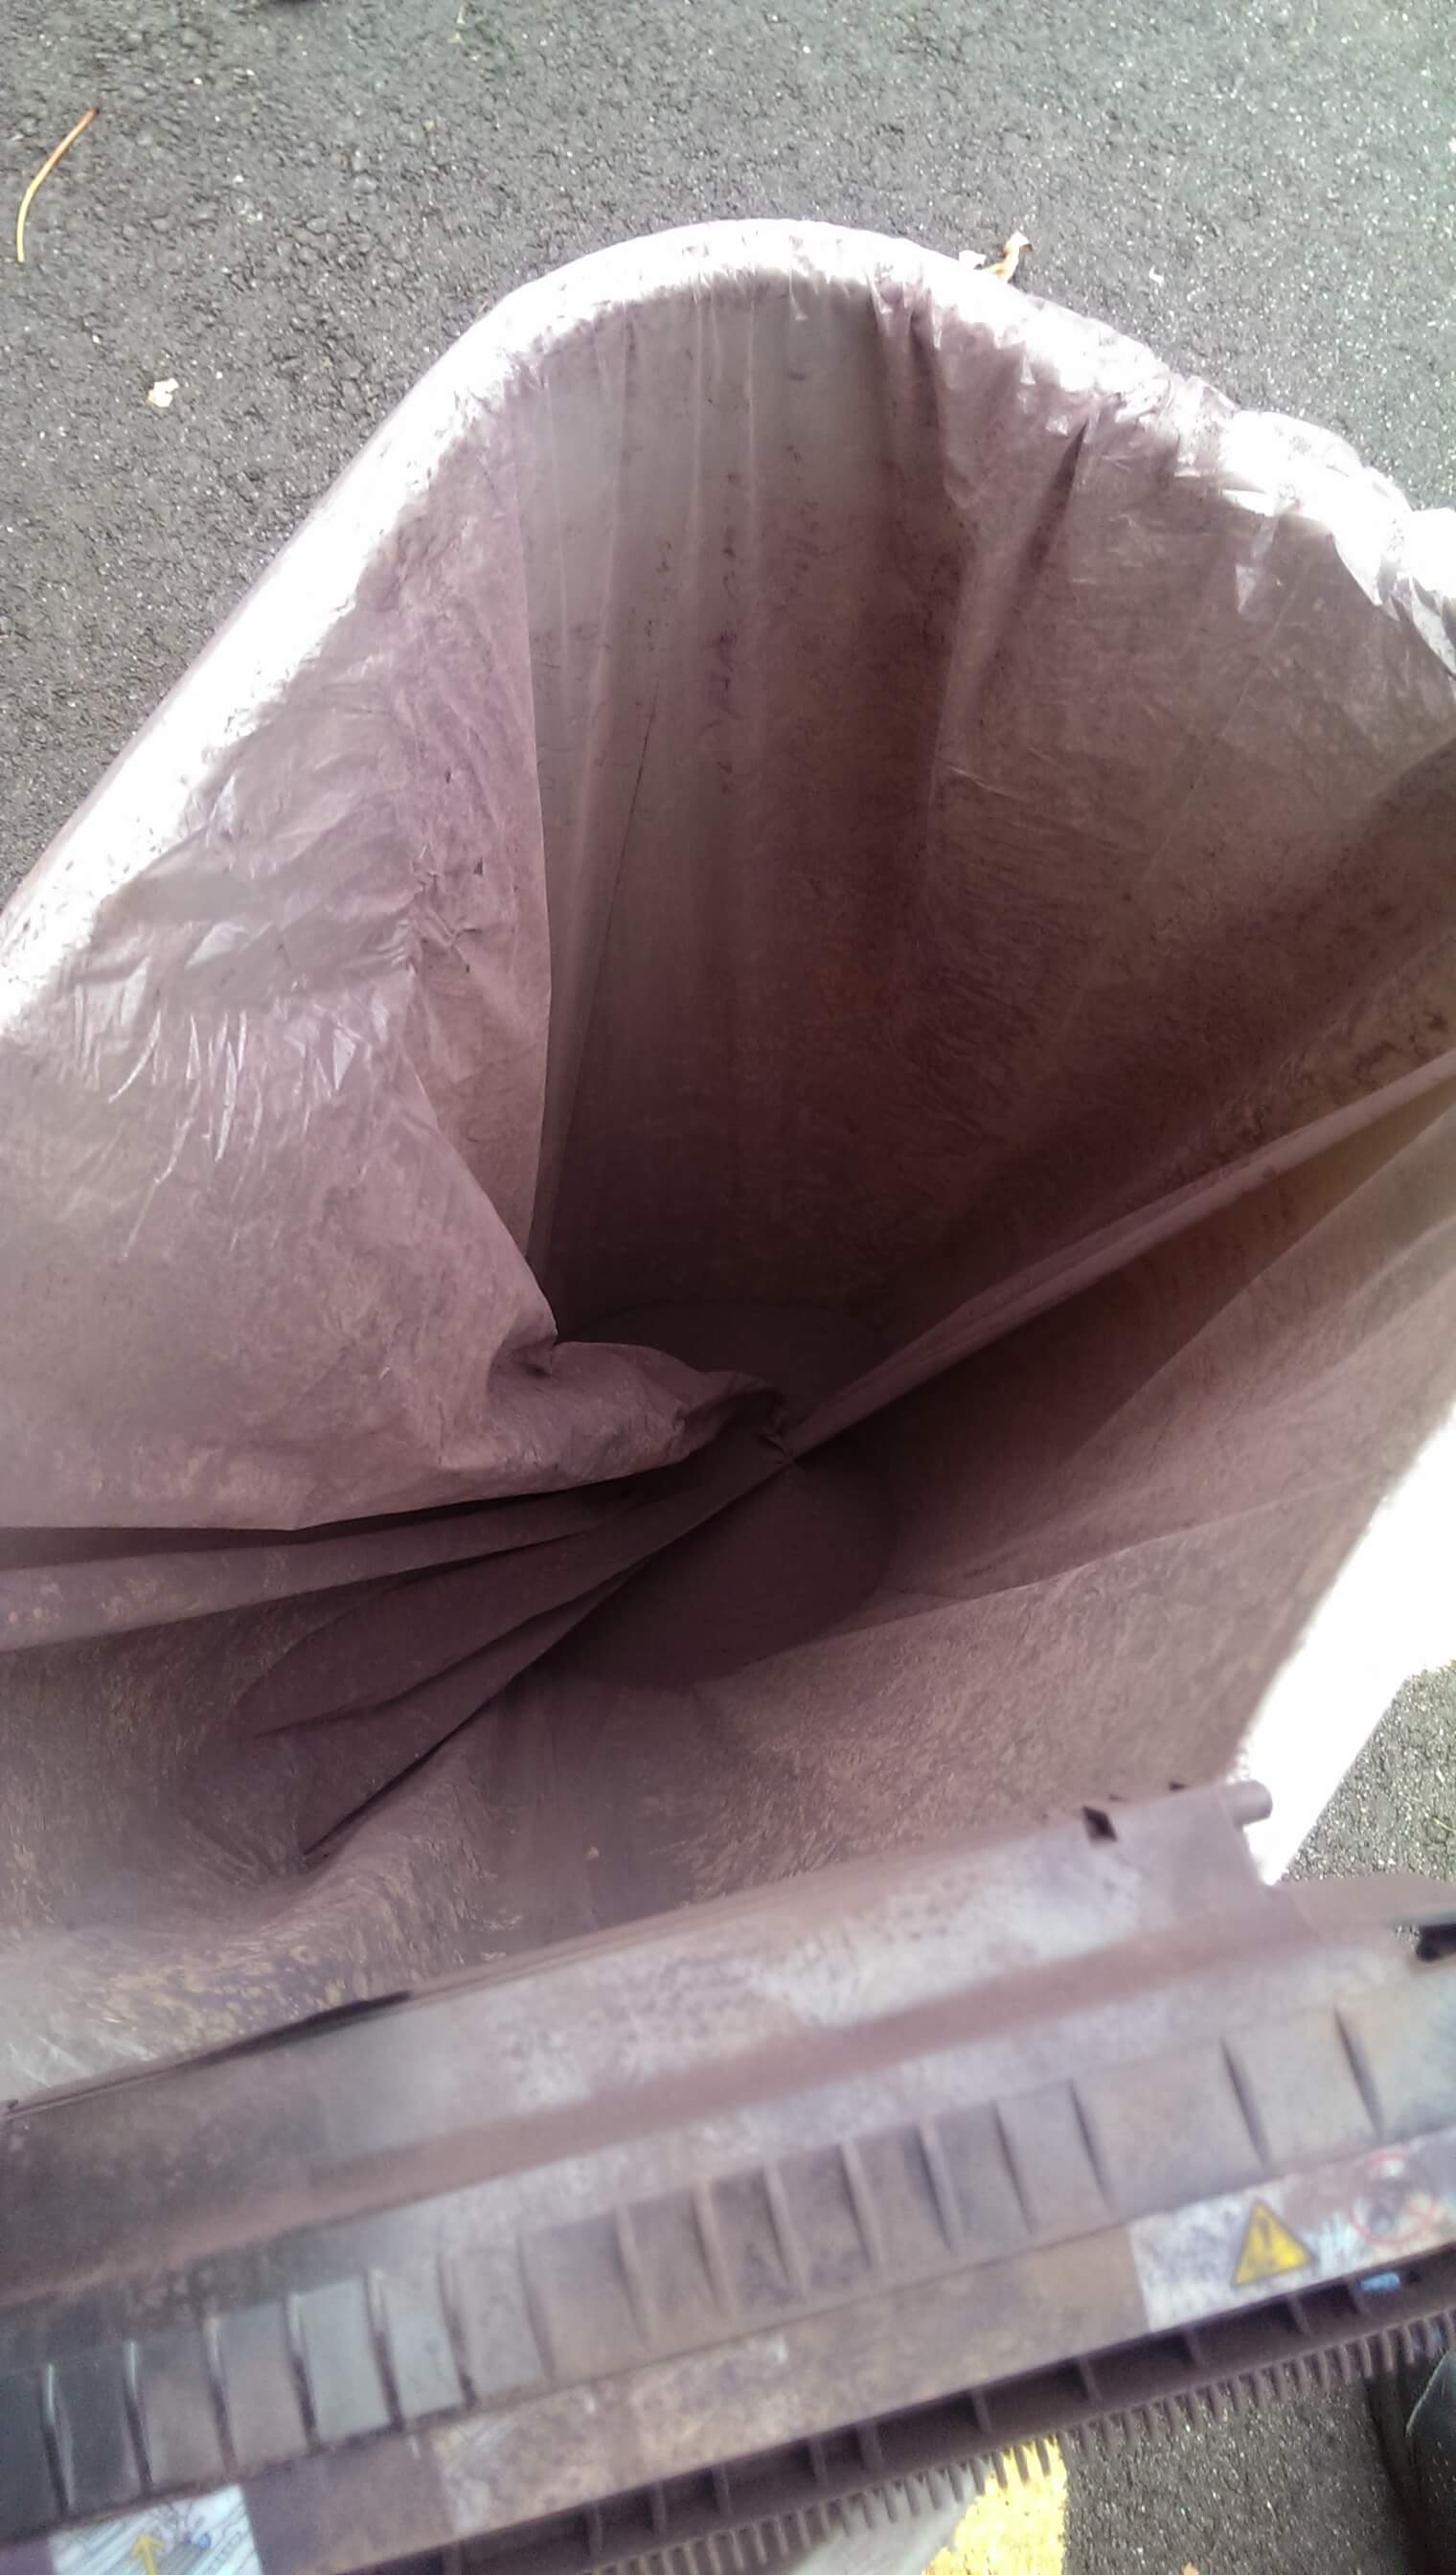
- Tap, tap, tap. No gloves. Baddddd idea. Toner everywhere!

-

- Look at all that nasty gunk! Don’t breathe this!
-
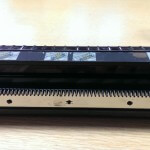
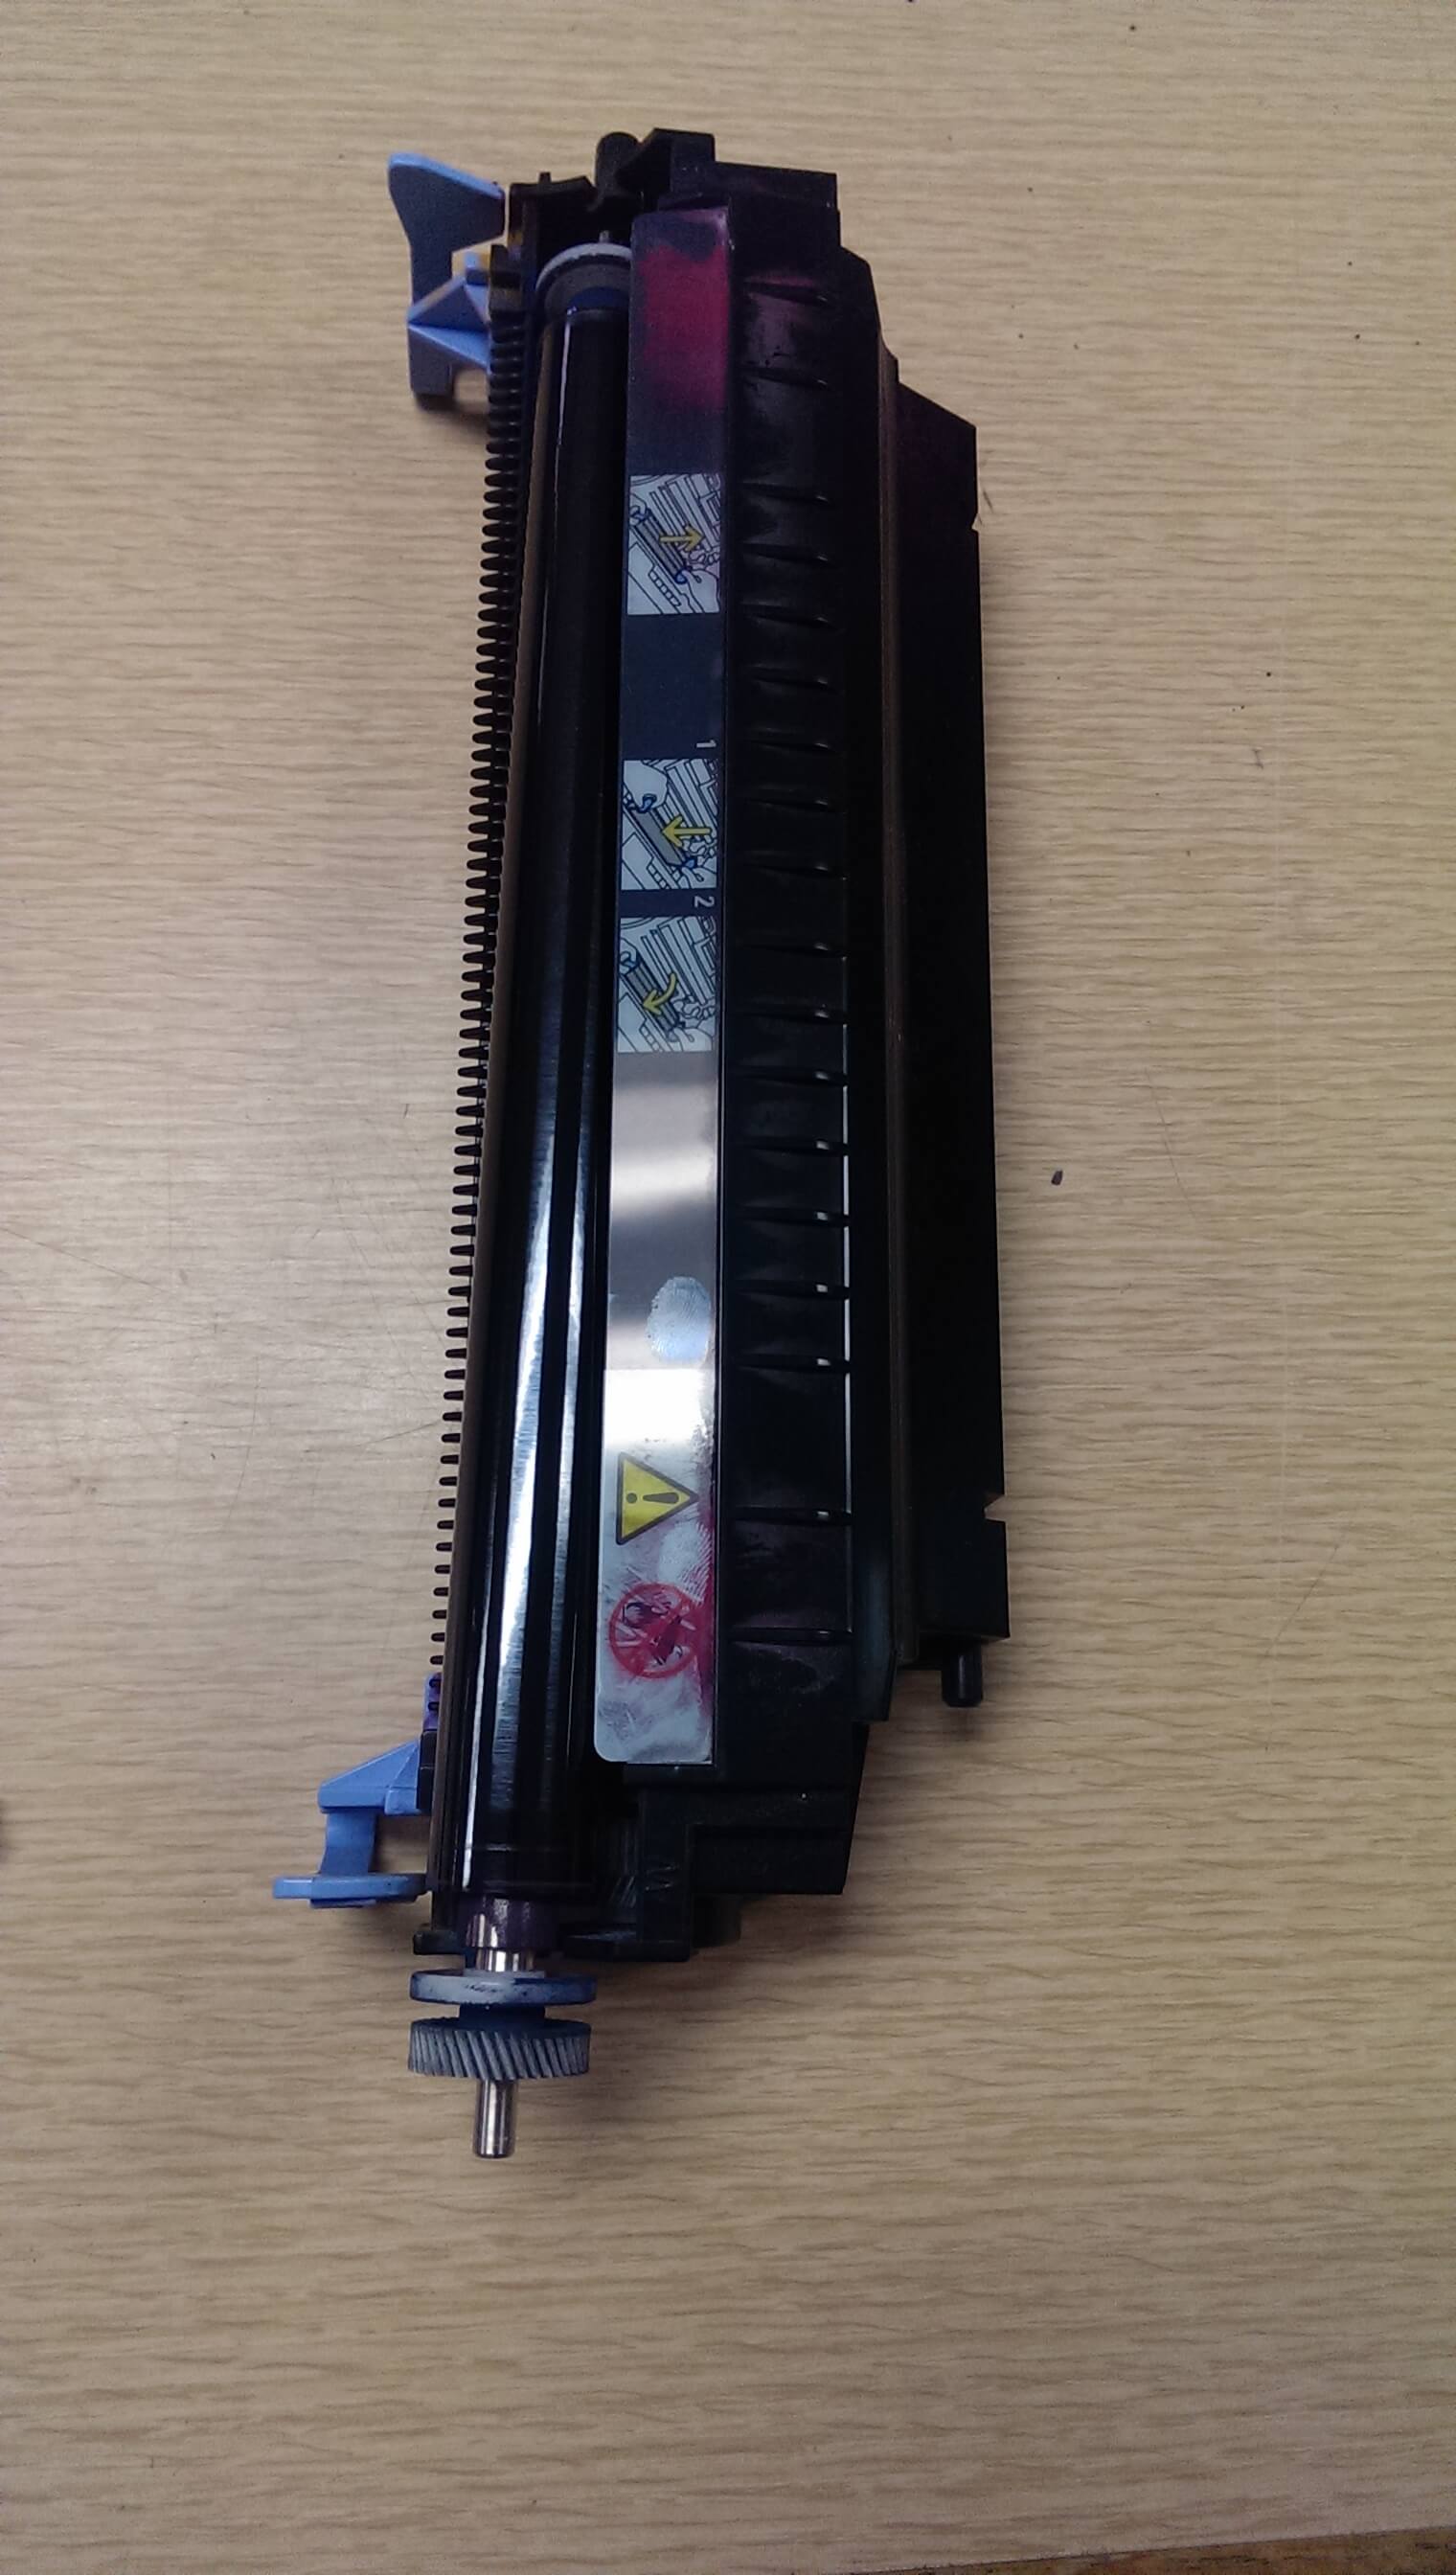
- After dumping out the gunk and also blowing it out with a Tornado in a Can.
-
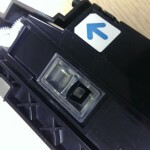
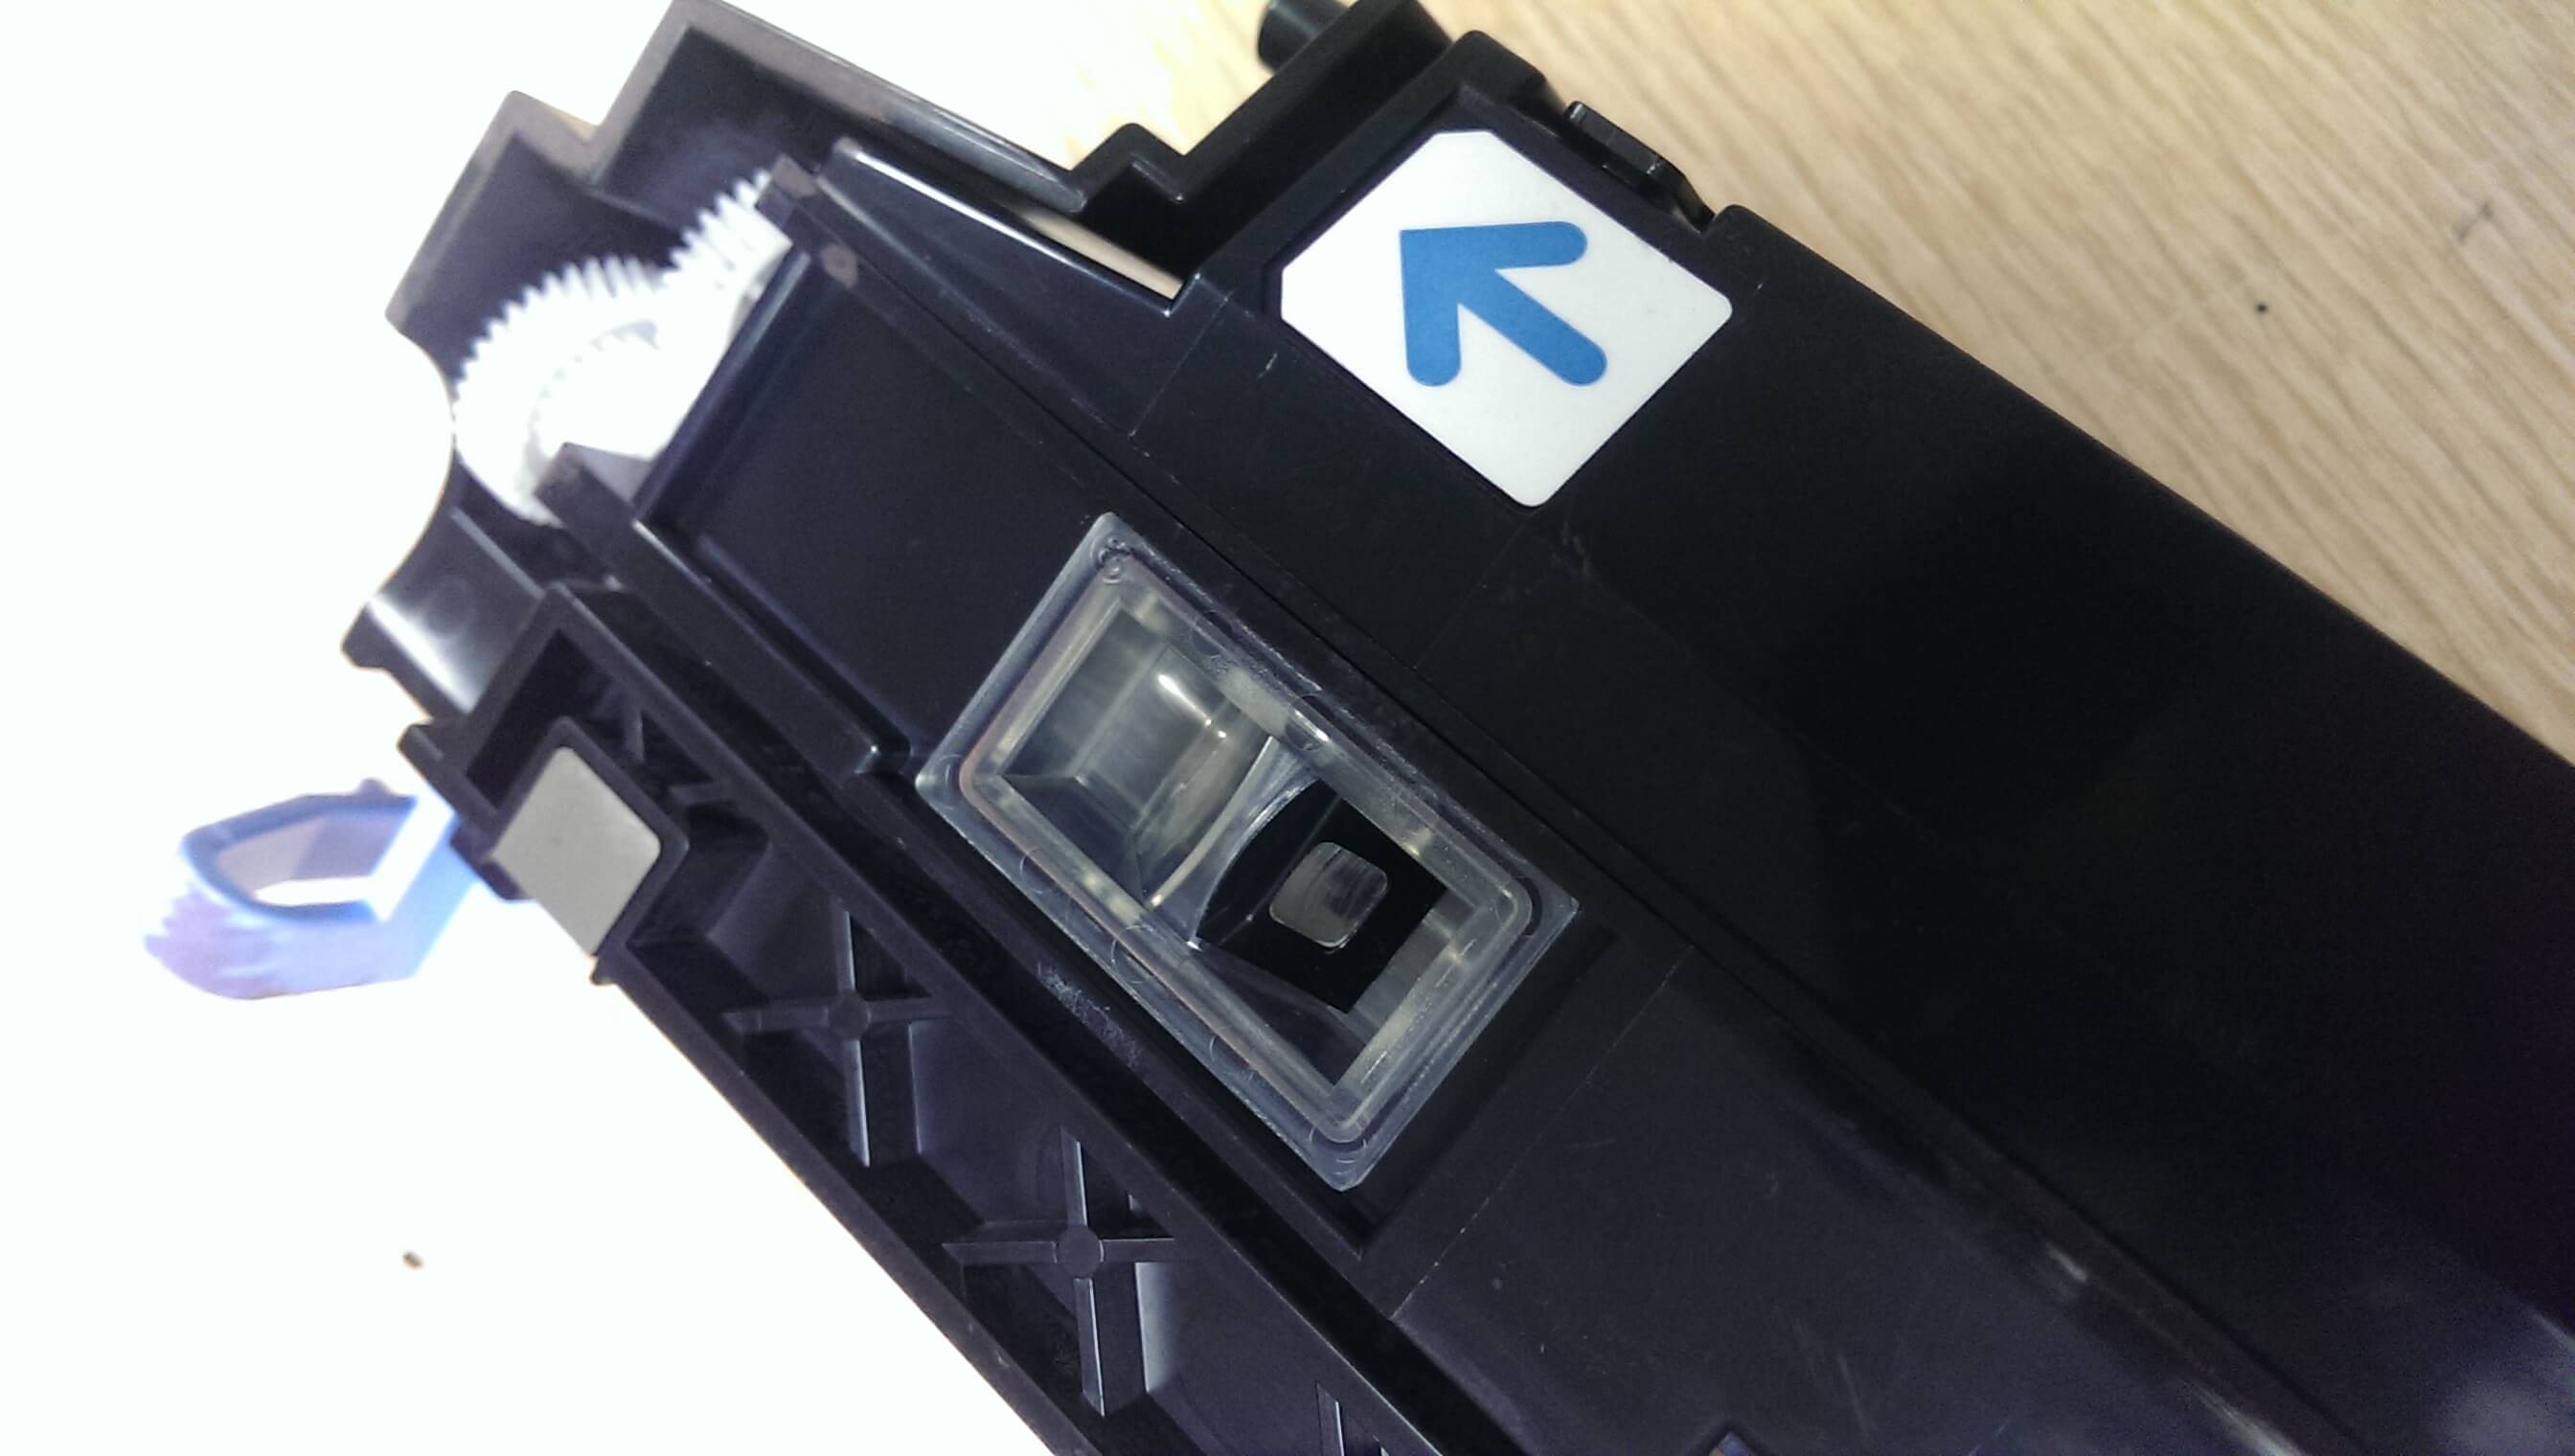
- Look at how clear the window is now! 😀
I hope it works for you! It’s worked for me on 3 different transfer rollers!
This absolutely works and is a breeze to do! I went outside to the dumpster away from everything to do it and hardly got any dust off of the toner on me. Save yourself $29!
worked a treat and even better, saved me €280 as Dell in Ireland make you buy transfer drum with roller. thanks so much for the tip
simon
Glad to help! 🙂
SO AWESOME!!! Was about to throw out an older printer b/c the cost of the roller was $100 more than I was willing to part with after all these years even though I have two brand new toner cartridges standing by. Thanks so much!
Glad it worked for you Jolie! This is such an annoying thing, they could have made it a simple door to open and close but they really want more money outta people. Super sad.
This was an awesome work around versus replacement. Saved some money, but more importantly didn’t have more than a couple of hours of downtime. Thanks so much for figuring this out and posting it!
Thanks for this very good manual! I was able to get my printer back into operation in only half an hour. And: I could not find a supplier for spare parts in Germany at the moment (only complete drum kits for ~200 EUR). Could have been the death for this printer even though I still have 4 new toner cartridges.
Excellent description and clear photos, thanks a lot! This 15 year old printer is rock solid and works now like a charm again!
Thank you for the great tutorial. Instructions were clear and precise and had no issues at all. Got it back up and running an no more “replace transfer roller” warning. considering the age of my printer and the cost of a new transfer roller, it probably would have ended up on the scrap heap without your help. Thanks again for the post.
Thank you, thank you, thank you! These days, you can’t find the part to buy even if you wanted to.
I’m amazed you have a 5110 still in operation haha.