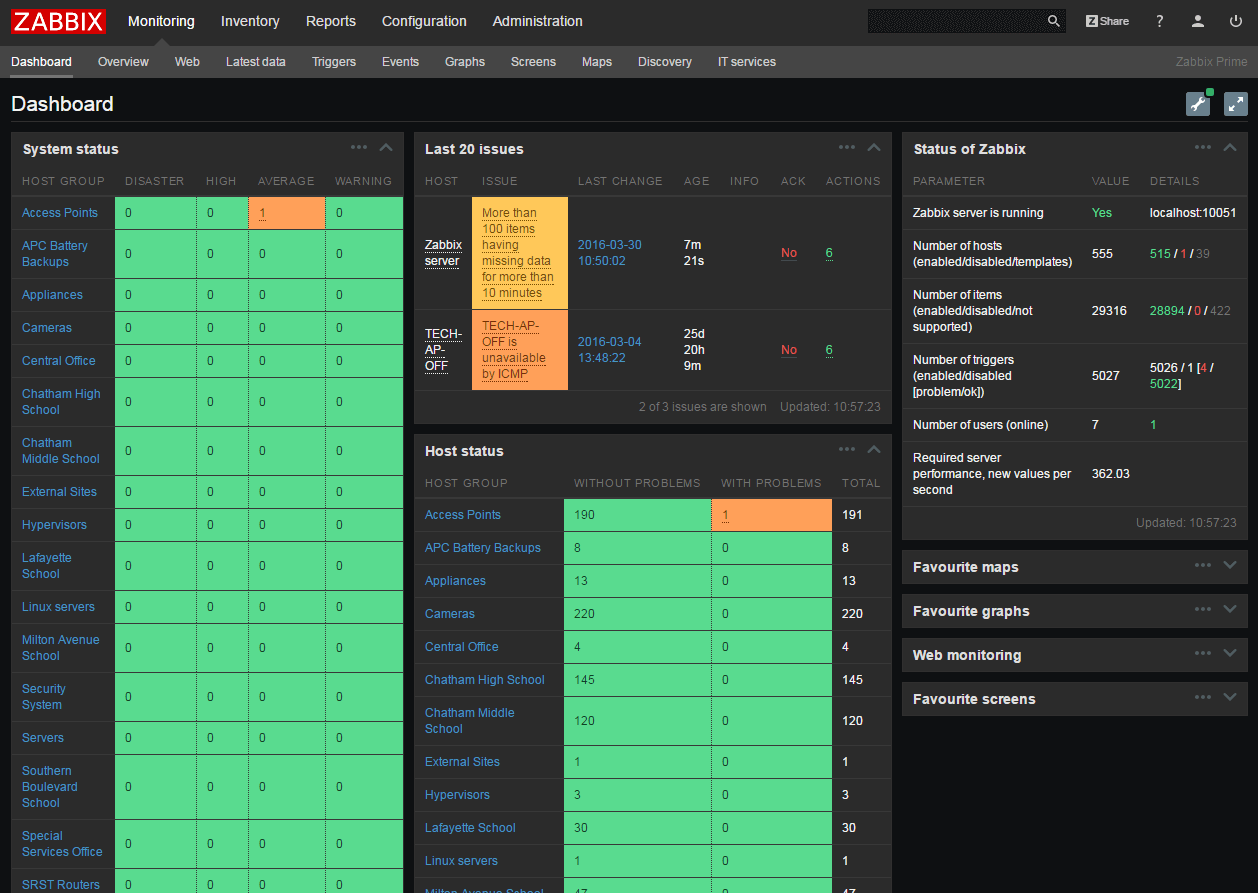
This guide modified from 2DayGeek’s post available here. Some of the steps (namely 7) didn’t work, so I wanted to publish my own step-by-step guide because Zabbix’s provided instructions of build from soure and hope for the best were found lacking in my view.
For your information, this guide is written for upgrading Zabbix 2.4.7 to 3.0.1 on an Ubuntu installation. The steps will be slightly different for different flavors of Linux/Unix and completely different for Windows. If you’re doing a Windows Zabbix box you should already know how to manage it because .exe is simpler than this.
- Back things up. I, for example, snapshotted the Zabbix VM before starting. (Good thing I did too because I messed things up a bunch before I got it right!)
- Stop the Zabbix Server process
-
sudo service zabbix-server stop
-
- (Optional) Manually backup the existing Zabbix database
- Note: Optional because of Step 1. If you didn’t do Step 1, then HIGHLY recommended.
-
mysqldump -u <dbuser> -p zabbix > zabbixBackup.sql
- Backup your configuration files, PHP files, and Zabbix Binaries.
-
mkdir /tmp/zabbix-backup-2-4-7
cp /etc/zabbix/zabbix_server.conf /tmp/zabbix-backup-2-4-7
cp /etc/apache2/conf-enabled/zabbix.conf /tmp/zabbix-backup-2-4-7
cp /usr/share/doc/zabbix-* /tmp/zabbix-backup-2-4-7
-
- Removed any existing Zabbix Repositories
-
sudo rm -Rf /etc/apt/sources.list.d/zabbix.repo
-
- Install new Zabbix Repositories
-
wget http://repo.zabbix.com/zabbix/3.0/ubuntu/pool/main/z/zabbix-release/zabbix-release_3.0-1+trusty_all.deb
sudo dpkg -i zabbix-release_3.0-1+trusty_all.deb
sudo apt-get update
-
- Upgrade the Zabbix Packages
-
sudo apt-get install –only-upgrade zabbix-server-mysql zabbix-agent zabbix-frontend-php
- Note: You may need to install zabbix-get, zabbix-java-gateway, zabbix-proxy-mysql, zabbix-sender also. Also, you may need to switch mysql to pgsql or sqlite depending on your implementation. I’m using MySql, so this worked for me.
-
- Restart the Zabbix Server
- In one console window you should monitor the Zabbix log file. We want to make sure that on first start the Zabbix Database gets upgraded.
-
sudo tail -f /var/log/zabbix/zabbix_server.log
-
- In another console window, you start the new Zabbix server.
-
sudo service zabbix-server start
-
- In one console window you should monitor the Zabbix log file. We want to make sure that on first start the Zabbix Database gets upgraded.
- Let the database upgrade. It took me about 5 minutes. It was faster than I expected. It can take up to 2 hours (reportedly).
- Access the new Zabbix instance.
- Point your browser to the usual web location. It should come right up.
- (Eventually) Delete your backups/snapshots.
As always, these guides are provided as-is, with no guarantees. This process worked for me. It -should- work for others.
